You brought a white noise machine into your home for one reason. You want to help your baby get better sleep. This simple device can be a powerful tool for tired parents. But using it the wrong way can cause new problems. Many parents worry about safety.
You are right to be careful. The difference between a sleep aid and a hearing hazard is small. It all comes down to three things: volume, distance, and placement. Getting these right is the key to success. Proper placement ensures the machine works well and keeps your baby safe.
This guide will give you clear rules to follow. We base our advice on expert recommendations. You will learn practical setups for any room. With this information, you can use your sound machine with total confidence, starting tonight.
The "Big Two" Safety Rules: Volume and Distance
Before you think about where to put the machine, you must understand two key safety rules. These rules are not suggestions. They are essential for protecting your baby's delicate hearing. The American Academy of Pediatrics (AAP) provides clear guidelines on this topic. Following them is the most important step you can take. These non-negotiable rules form the foundation of safe and effective use. Let's break them down into simple, actionable steps that every parent can follow.
Rule #1: Stay Below 50 Decibels (dB)
The most critical safety factor is volume. A baby's ear canals are smaller than an adult's. This makes loud sounds even more intense for them. The AAP recommends keeping the sound level at or below 50 decibels (dB). This level is based on the standard for hospital nurseries. It is comparable to the sound of a quiet conversation. You can also think of it as the noise from a running shower or a gentle rain. Many white noise machines can produce sounds much louder than this. Some can reach 85 dB, which is as loud as a noisy restaurant.
Never use the maximum volume setting on your device. It is always too loud for a baby. You should always test the volume from where your baby sleeps, not from where the machine is. This ensures the sound reaching their ears is safe. Understanding the safest white noise volume for your baby is the first step toward creating a secure sleep space. Some parents think louder is better, but this is a dangerous myth. The goal is to mask other noises, not to drown them out with a loud sound.
How can you measure the volume? You do not need expensive equipment. You can use a free app on your smartphone. Search for 'Decibel X' or the 'NIOSH Sound Level Meter' app in your app store. Open the app and place your phone in the crib where your baby's head would be. Then, turn on the white noise machine. Adjust the volume until the app reads 50 dB or slightly less. This simple check gives you peace of mind.
Rule #2: Keep it 7+ Feet Away
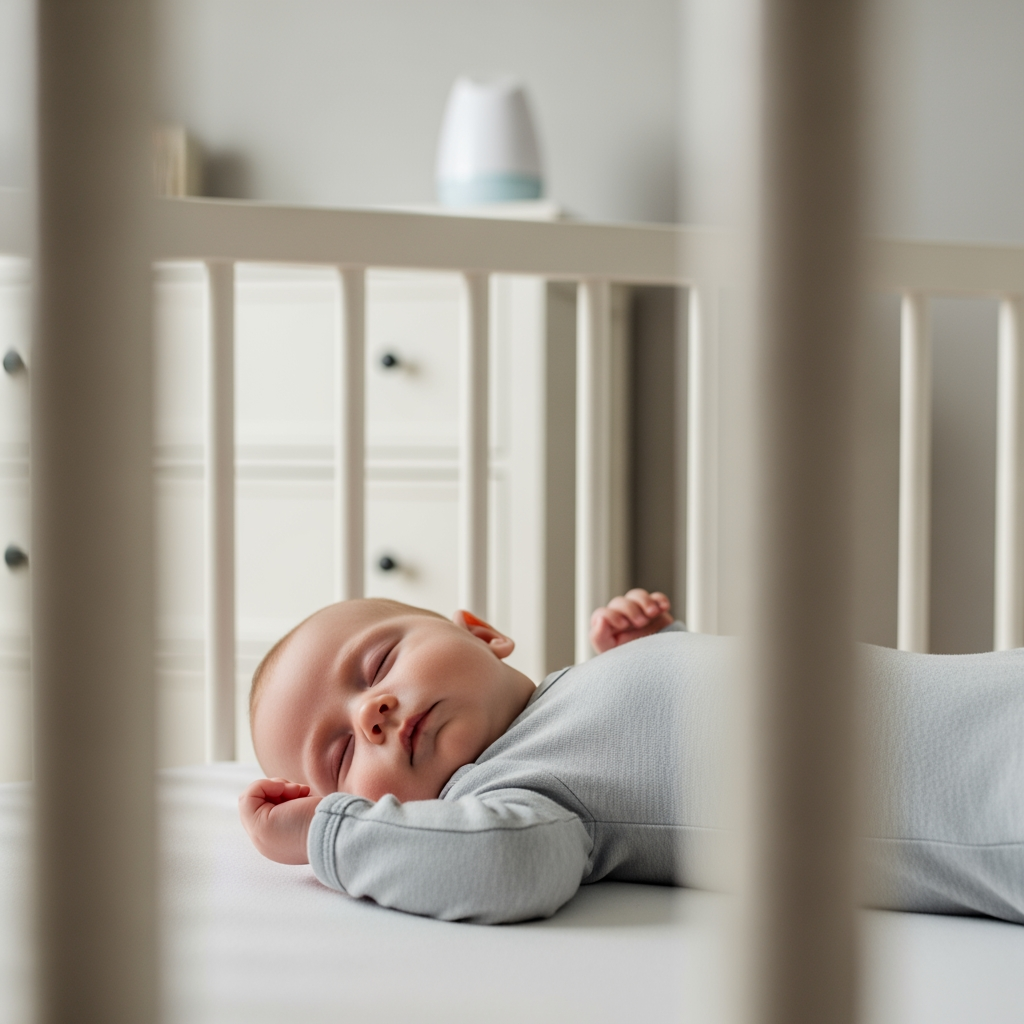
Distance is your best tool for safety. Sound intensity decreases quickly as you move away from its source. This is due to a principle called the inverse square law. Think of it like a candle. The light is very bright up close but gets much dimmer just a few feet away. Sound works the same way. A machine that seems too loud up close can be perfectly safe from across the room. This is why the AAP recommends placing the machine at least 7 feet (or 2 meters) away from your baby's head.
This distance gives the sound waves room to spread out and soften. It greatly reduces the decibel level that reaches your baby. You should never place a sound machine inside the crib or bassinet. Do not hang it on the crib rail. This is extremely dangerous for your baby's hearing. It also creates other safety risks, such as cord hazards. Always measure the distance from the machine to your baby's sleeping spot to ensure it meets this 7-foot minimum.
The Physics of Placement: How to Make Sound Work for You
Now that you know the safety rules, we can talk about strategy. Where you put the machine affects how well it works. The goal is not just to make noise. The goal is to create a consistent and soothing sound environment. This process is called sound masking. It is the secret to making a white noise machine effective. Understanding this concept will help you find the perfect spot in your nursery.
Imagine you are at a quiet park. You are trying to have a private conversation. Someone a few benches away could easily hear your words. Now, imagine having that same conversation next to a gentle waterfall. The constant sound of the water makes it much harder for anyone to pick out your specific words. The waterfall sound 'masks' your conversation. A white noise machine creates a similar 'waterfall' of sound in the nursery. It raises the baseline level of sound in the room.
This consistent sound makes sudden, disruptive noises less jarring. A dog barking, a door slamming, or a loud truck driving by are all sharp sounds. They stand out in a quiet room and can easily wake a sleeping baby. The sound machine's steady hum blends these sharp noises into the background. They become less noticeable and are less likely to startle your infant awake. The best way to achieve this is to create a 'sound barrier' with your machine. This means placing it strategically between your baby and the source of the noise. This placement allows the machine to block disruptive sounds before they can cross the room and reach your baby's ears. When you create the perfect sleep sanctuary, you give your child the gift of uninterrupted rest.
It is also worth noting that 'white noise' has become a general term. True white noise contains all frequencies at equal intensity. However, many parents find that pink noise or brown noise is more effective. These sounds have deeper, lower-frequency rumbles. They can be more soothing and are often better at masking low-frequency noises like traffic. Most modern sound machines offer all three options. Experiment to see which sound your baby responds to best.
Scenario-Based Placement: Finding the Perfect Spot in Your Nursery
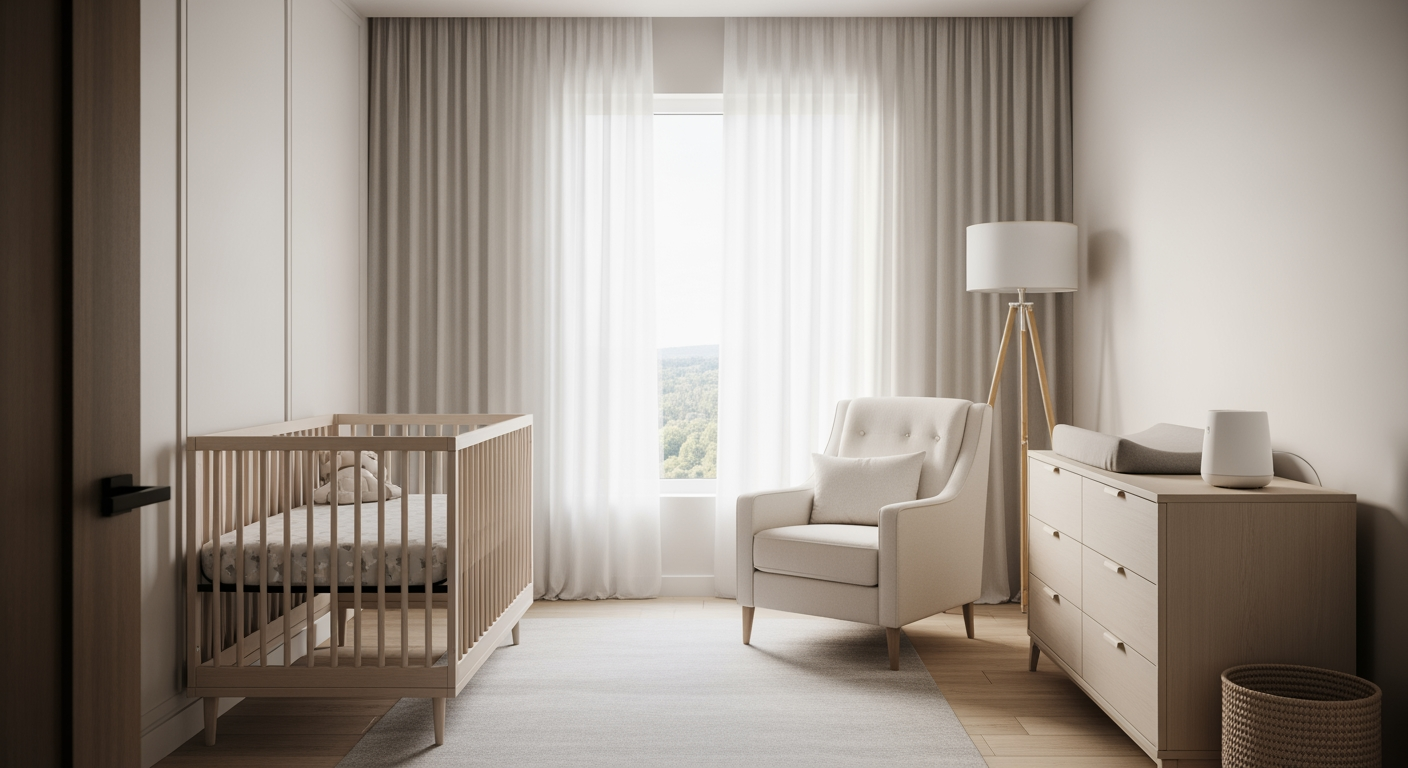
Every nursery is different. The size of the room, the location of the crib, and the source of noise all affect where you should place your machine. The key is to apply the safety rules to your specific situation. Here, we will cover the most common scenarios parents face. We will provide clear, actionable solutions for each one. This will help you find the optimal placement for both safety and effectiveness in your unique space.
Scenario 1: Blocking External Noise (Traffic, Neighbors)
If the main source of noise comes from outside your home, your strategy is simple. You need to stop the sound at its entry point. This is usually a window. Noises like street traffic, barking dogs, or loud neighbors travel through glass easily. To combat this, you should place the white noise machine near that window. Putting it on a dresser or a small table directly under the window is an ideal setup.
This placement creates a sound barrier right where the noise is coming in. The machine's constant sound masks the external noises before they have a chance to travel across the room to your baby's crib. Remember to maintain the 7-foot distance from the crib. If the window is close to the crib, you may need to adjust. Place the machine as close to the window as possible while still respecting the safe distance rule. This setup is highly effective for city dwellers or homes in busy neighborhoods.
Scenario 2: Blocking Internal Noise (Living Room, Siblings)
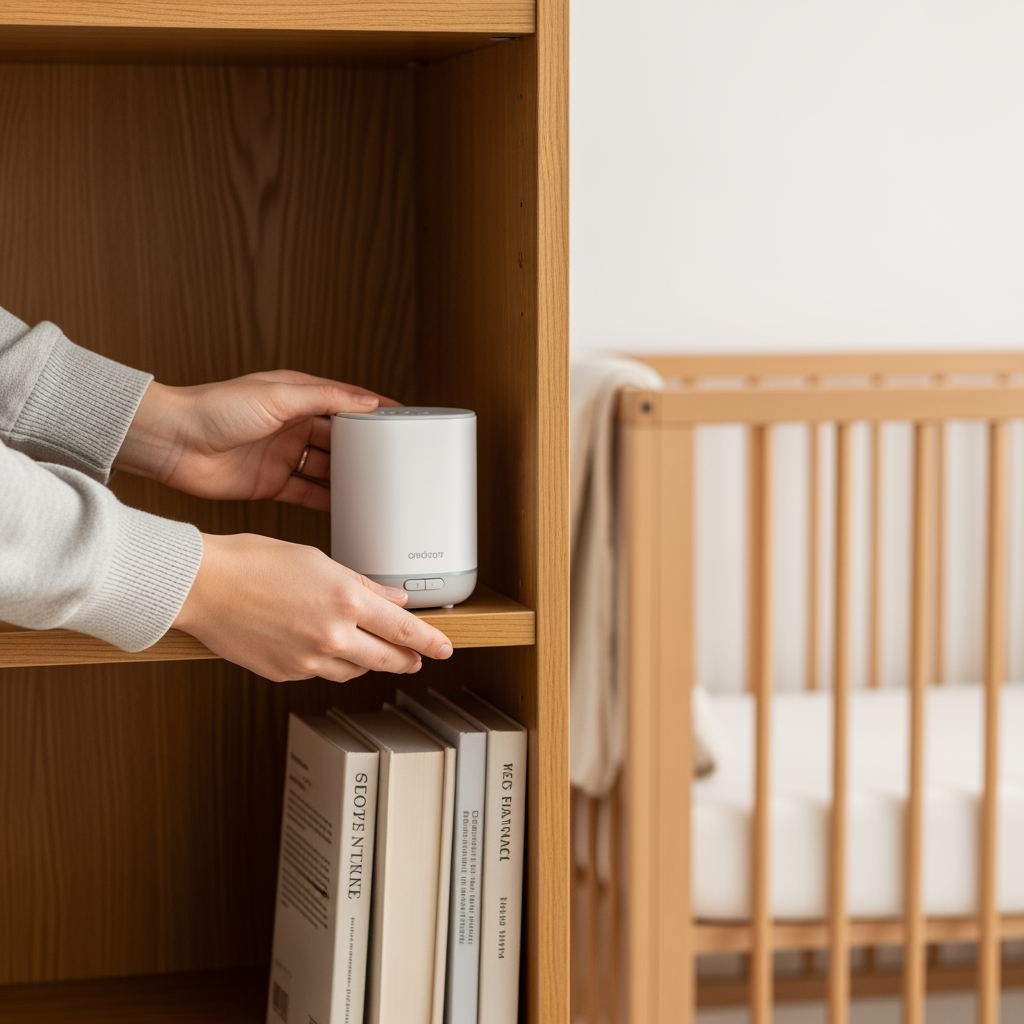
For many families, the loudest noises come from inside the house. This includes sounds from the television, conversations in the living room, or older siblings playing in the hallway. In this case, the main entry point for noise is the nursery door. Your goal is to block sounds coming from the rest of the house. Place the sound machine on a table or bookshelf near the nursery door. This creates a buffer that absorbs hallway sounds.
If you live in a particularly noisy household, you might need a more advanced solution. Consider the 'Two-Machine Method'. This is an expert trick for light sleepers. Place one machine inside the nursery near the door, set to a low, safe volume (under 50 dB). Then, place a second machine just outside the nursery door. This creates a powerful sound 'lock' that isolates the room from household chaos. This dual-barrier approach is extremely effective at ensuring a peaceful sleep environment.
Scenario 3: The Small Nursery Challenge
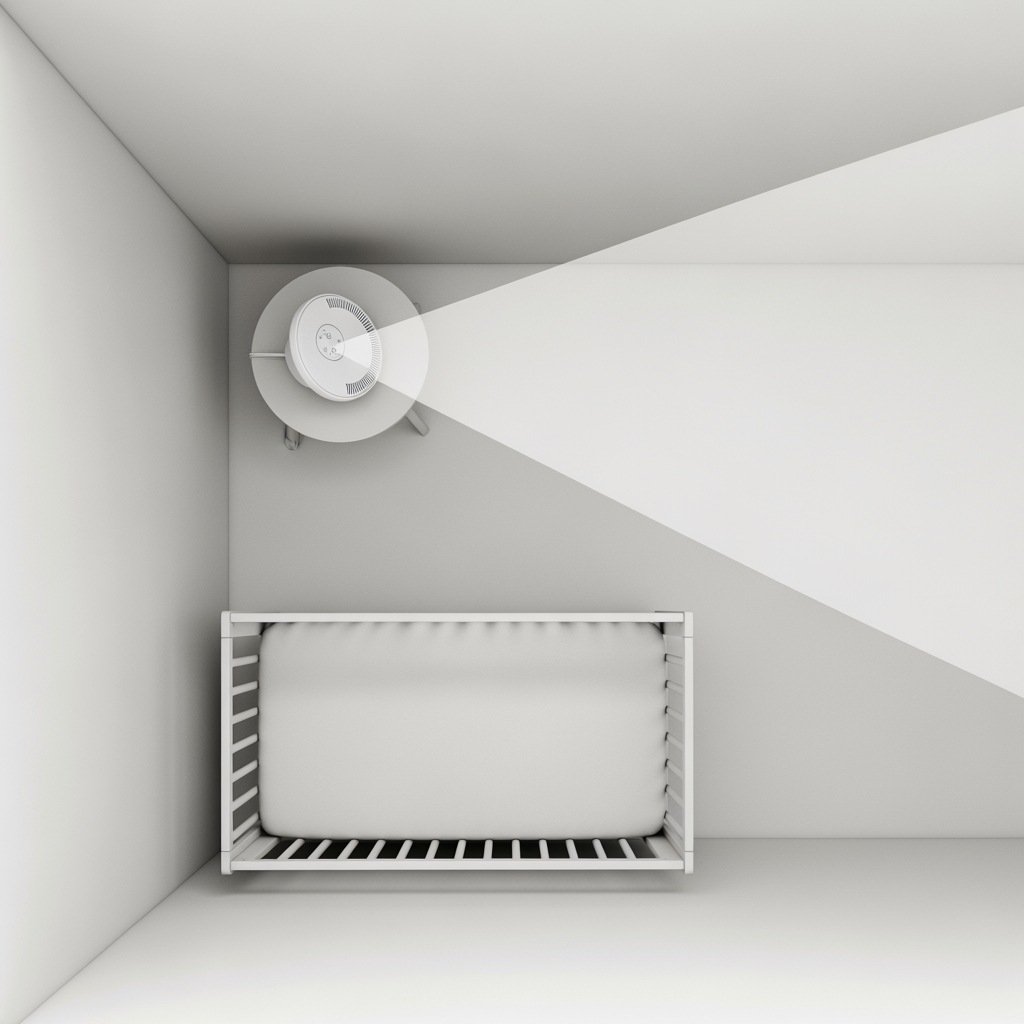
What if your nursery is small, and the 7-foot rule seems impossible? This is a common challenge in apartments or smaller homes. In this situation, your top priority must be safety. Distance is more important than ideal acoustic placement. If you cannot achieve 7 feet, you must maximize the distance as much as possible. Place the machine on the wall directly opposite the crib. This will give you the greatest possible distance.
Because the machine is closer than ideal, you must be extra careful with the volume. You will likely need to use a much lower volume setting than you would in a larger room. Use a decibel meter app on your phone to verify the sound is well below 50 dB at the crib. Never sacrifice distance to place the machine closer to a noise source. In a small room, maximizing the space between the machine and your baby is the number one rule.
Scenario 4: The Shared Room Solution
When a baby shares a room with a toddler or older sibling, new sound challenges arise. The children can easily wake each other up. A toddler's cough or a baby's cry can disturb the other's sleep. Placing one machine in the middle of the room is often not effective. The sound might be too loud for one child and too quiet for the other. The best solution is to give each child their own sound machine.
Place one machine near each child's bed. Be sure to follow all safety rules for both machines. Each one should be at least 7 feet away and set to a safe volume below 50 dB. This creates a personal sound bubble for each child. It helps mask the noises made by their sibling. This approach is a key part of any nursery safe sleep checklist for shared rooms. It helps both children get the restorative sleep they need.
| Noise Source | Primary Goal | Optimal Placement Strategy |
|---|---|---|
| Street Traffic / Outside Noise | Block noise from entering the room | Place machine on a dresser under the window. |
| Household Noise / Hallway | Block noise from the rest of the house | Place machine on a table near the nursery door. |
| Very Loud Household | Create a robust sound 'lock' | Use two machines: one inside by the door (low volume) and one outside the door. |
| Small Nursery (< 10×10 ft) | Maximize safety and distance | Place machine on the wall furthest from the crib, even if it's not near the noise source. |
| Shared Sibling Room | Prevent kids from waking each other | Place a separate machine near each child's bed, following all safety rules for both. |
Common Placement Mistakes to Avoid
Knowing where to put your sound machine is important. Knowing where not to put it is even more critical for your baby's safety and well-being. Some common practices are based on myths and can be harmful. Let's debunk these mistakes so you can avoid them.
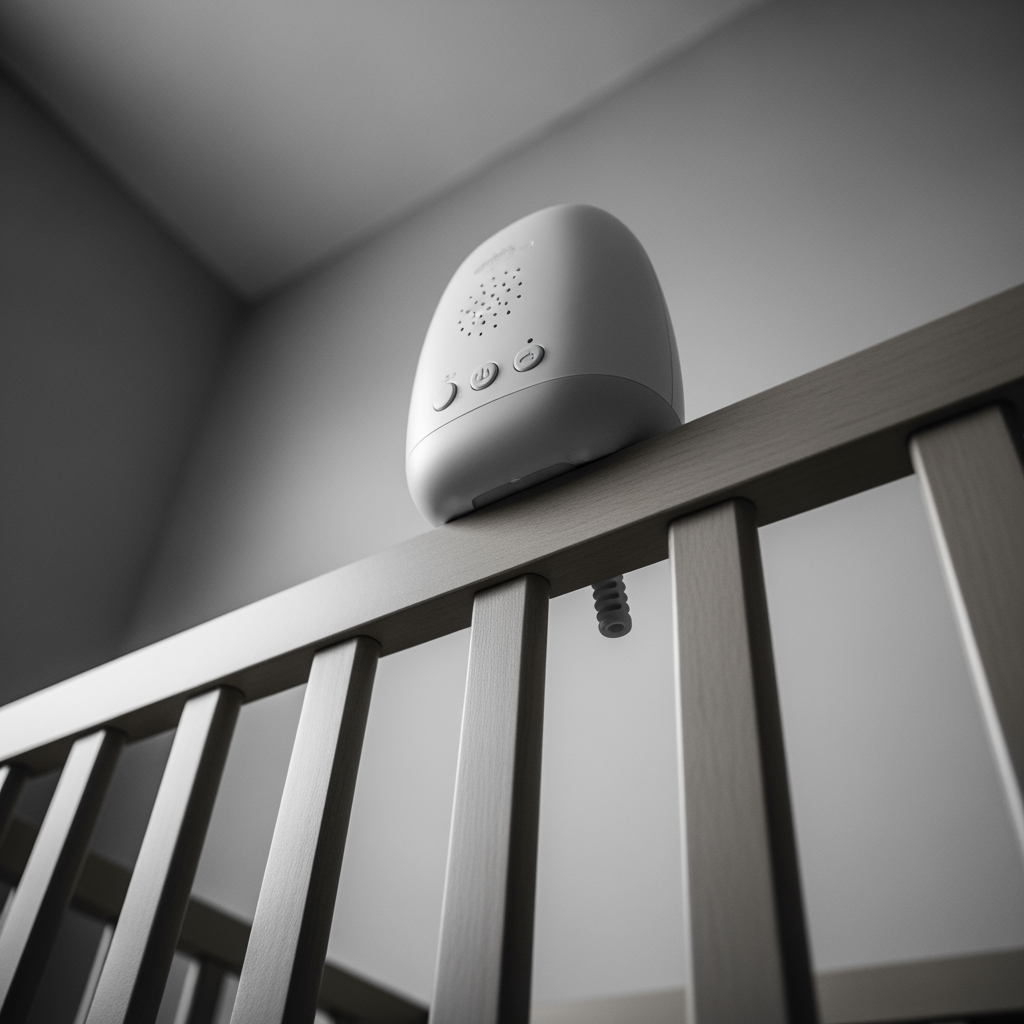
- Don't place it in or on the crib. This is the most dangerous mistake. The sound level is far too high at this close range, risking hearing damage. It also introduces a potential suffocation or strangulation hazard from the device or its cord, increasing the risk of SIDS.
- Don't place it on the floor (usually). While it may seem like an easy spot, the floor is not ideal. Sound can be muffled by carpets, rugs, and low furniture. This makes the machine less effective. Placing it on a dresser or bookshelf allows the sound to fill the room more evenly.
- Don't hide it behind curtains or furniture. Blocking the machine not only muffles the sound but can also be a safety issue. Electronic devices can generate heat. Hiding them behind fabric or in an enclosed space is a fire risk from overheating. Always ensure there is good air circulation around the machine.
- Don't use it 24/7. Your baby needs to experience the normal sounds of your home during their awake time. This helps their brain learn to distinguish between different sounds. Constant white noise can interfere with this process. Use the machine only for sleep periods, such as naps and nighttime. Turn it off when your baby is awake and playing.
Finally, resist the urge to crank up the volume. The myth that 'louder is more effective' is false and dangerous. A consistent, low-level sound is all that is needed for effective sound masking. A louder volume does not provide more benefits and only increases the risk to your baby's hearing. Always prioritize safety over perceived effectiveness.
Your Next Steps for a Quieter Night
Using a white noise machine correctly is one of the simplest ways to improve your baby's sleep. It helps create a safe and consistent environment that promotes longer, more restful sleep for everyone. By following these safety-first placement rules, you can feel confident that you are helping, not harming, your little one.
Let's review the simple safety checklist for perfect placement:
- Pick a low, rumbling sound like pink or brown noise.
- Set the volume to 50 decibels or less, measured from the crib.
- Place the machine at least 7 feet away from your baby.
- Position it between your baby and the main source of noise.
- Use the machine only during naps and nighttime sleep.
You have now mastered the sound environment in your nursery. This is a huge step toward better sleep. By applying these rules, you have built a foundation for healthy sleep habits. Now that the room is ready, you can focus on building the perfect routine to go with it.