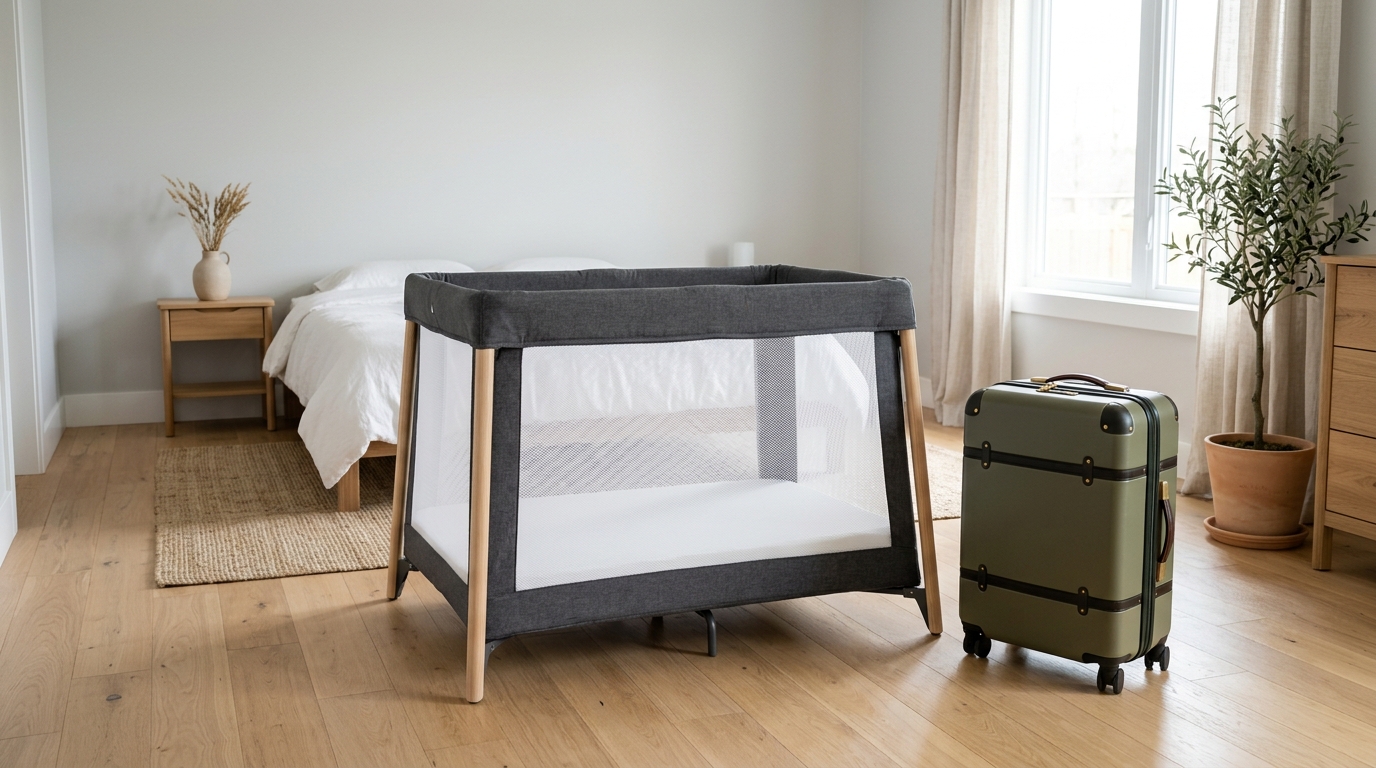
An upcoming trip should bring excitement. But for parents of young children, it often brings anxiety about one thing: sleep. The fear is real. A baby who refuses to sleep can turn a long-awaited vacation into an exhausting ordeal. The problem often centers on an unfamiliar travel crib, commonly known as a pack 'n play.
Many parents believe the problem is the pack 'n play itself. They think the firm mattress is uncomfortable and search for ways to make it softer. This is a dangerous misunderstanding. The secret to success is not changing the pack 'n play. It is preparing your child for it. A safe pack 'n play is a familiar one.
This guide provides a step-by-step plan. We will show you how to make a pack 'n play a safe and accepted sleep space for your baby. We will focus on preparation, routine, and official safety guidelines. Your family can enjoy your trip, and everyone can get the rest they need.
The Uncomfortable Truth: Why 'Making It Comfortable' Is Dangerous
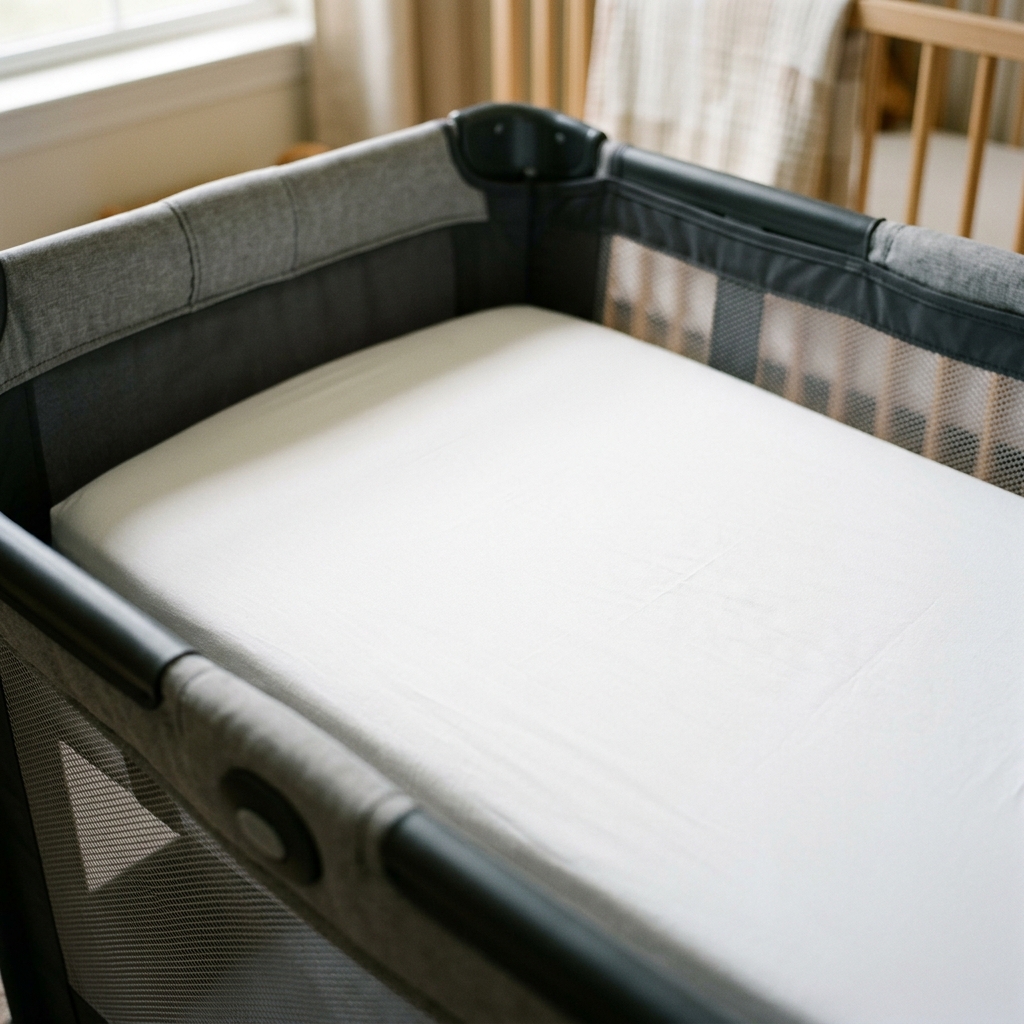
Your baby’s safety is the top priority. When it comes to sleep, this means following expert guidance without compromise. The American Academy of Pediatrics (AAP) updated its safe sleep recommendations in 2022. The rules are clear. Babies should sleep on a surface that is firm, flat, and bare. This applies to all sleep environments, including cribs, bassinets, and pack 'n plays.
The mattress that comes with a pack 'n play feels hard to an adult hand. This is by design. A firm surface prevents a baby's head from sinking in, which could obstruct their airway. Think of it like the difference between sleeping on a yoga mat versus a giant marshmallow. The marshmallow seems cozy, but it poses a suffocation risk. The firm, flat yoga mat keeps the body aligned and the airway open. This is what your baby needs for safe sleep.
Adding an aftermarket mattress, a soft topper, or even thick blankets under the sheet is extremely dangerous. These additions create two major hazards. First, they eliminate the firmness that keeps your baby safe. Second, they can create gaps between the mattress and the mesh sides of the pack 'n play. A baby can become trapped in these gaps, leading to injury or suffocation. The Consumer Product Safety Commission (CPSC) sets strict standards for play yards. These standards ensure the included mattress fits perfectly and has the correct firmness. Any modification voids these safety features.
Federal law, such as the Safe Sleep for Babies Act, has banned products like inclined sleepers and crib bumpers because of the risks they pose. The principle is the same for a pack 'n play. Nothing should be in the sleep space besides the baby, a firm mattress, and a tight-fitting sheet. Resist the urge to 'improve' the pack 'n play. A safe, compliant product is already the best possible sleep space for your child. Your focus should be on helping your baby accept it.
To be perfectly clear, here is a list of modifications you must always avoid.
The Unsafe Modification Checklist: What to AVOID
- DO NOT add an aftermarket mattress or mattress topper. The original manufacturer's pad is the only safe option. It is tested for firmness and a gap-free fit.
- DO NOT place soft blankets, pillows, or towels under the sheet to add padding. This creates a soft surface and a suffocation risk. It also makes the fitted sheet loose, which is another hazard.
- DO NOT use a mattress from a different brand or model, even if it seems to fit. Tiny differences in size can create dangerous gaps along the edges.
- DO NOT use any sleep positioners, wedges, or loungers inside the pack 'n play. These items are not safe for sleep and have been associated with infant deaths.
The Real Secret to Pack 'n Play Success: Familiarity and Preparation
Now that we have established what not to do, let's focus on what works. The reason a baby resists a pack 'n play is not discomfort. It is unfamiliarity. Babies thrive on routine and predictability. A new sleep space in a new environment is a major disruption. The solution is to make the pack 'n play a familiar, positive space before your trip even begins.
This process relies on another key factor: independent sleep skills. If your baby knows how to fall asleep on their own, they can apply that skill in different environments. A baby who is always rocked, fed, or held to sleep will need that assistance everywhere, whether in a crib at home or a pack 'n play in a hotel. Working on independent sleep is the foundation for flexible, resilient sleepers. When you travel, the pack 'n play is just a different bed, but the skill of falling asleep remains the same. Following established travel crib best practices is crucial for both safety and success.
The best way to build familiarity is with a pre-travel practice plan. This systematic approach gradually introduces the pack 'n play, turning it from a strange object into a regular part of their sleep routine. Starting this process one to two weeks before you leave will dramatically increase your chances of a restful trip.
Your Pre-Travel Practice Plan
- Start Early (1-2 Weeks Before Travel): Set up the pack 'n play in a common area of your home. Let your baby see it and get used to its presence. Then, move it into your baby's room. During playtime, put some toys in it and let them play inside for short, supervised periods. The goal is to build positive associations. It should be seen as a safe, fun space, not just a bed.
- Introduce Naps: Once the pack 'n play is in their room, begin by having your baby take one nap a day in it. Start with the first nap of the day, when sleep pressure is highest. Perform your entire normal naptime routine (e.g., read a book, put on the sleep sack, turn on white noise), but place them in the pack 'n play instead of their crib. Consistency is key.
- Move to Nights: After a few days of successful naps, it's time to try an overnight sleep. By this point, the pack 'n play is no longer a complete novelty. Perform your bedtime routine as usual and place them in the pack 'n play for the night. This step solidifies it as a normal sleep space, not just a 'weird travel bed.' Your baby learns that they can sleep just as well here as in their crib.
- Practice in a New Room (Optional but Recommended): If you can, move the pack 'n play to a different, quiet room in your house for a night or two before the trip. This is the final test. It helps your baby generalize their sleep skills to a new setting. They learn that even if the room is different, their safe sleep space and their ability to sleep remain the same. This is a powerful step in preparing them for the ultimate change of a hotel or relative's house.
Creating a Sleep-Sanctuary on the Go: Setting Up for Success
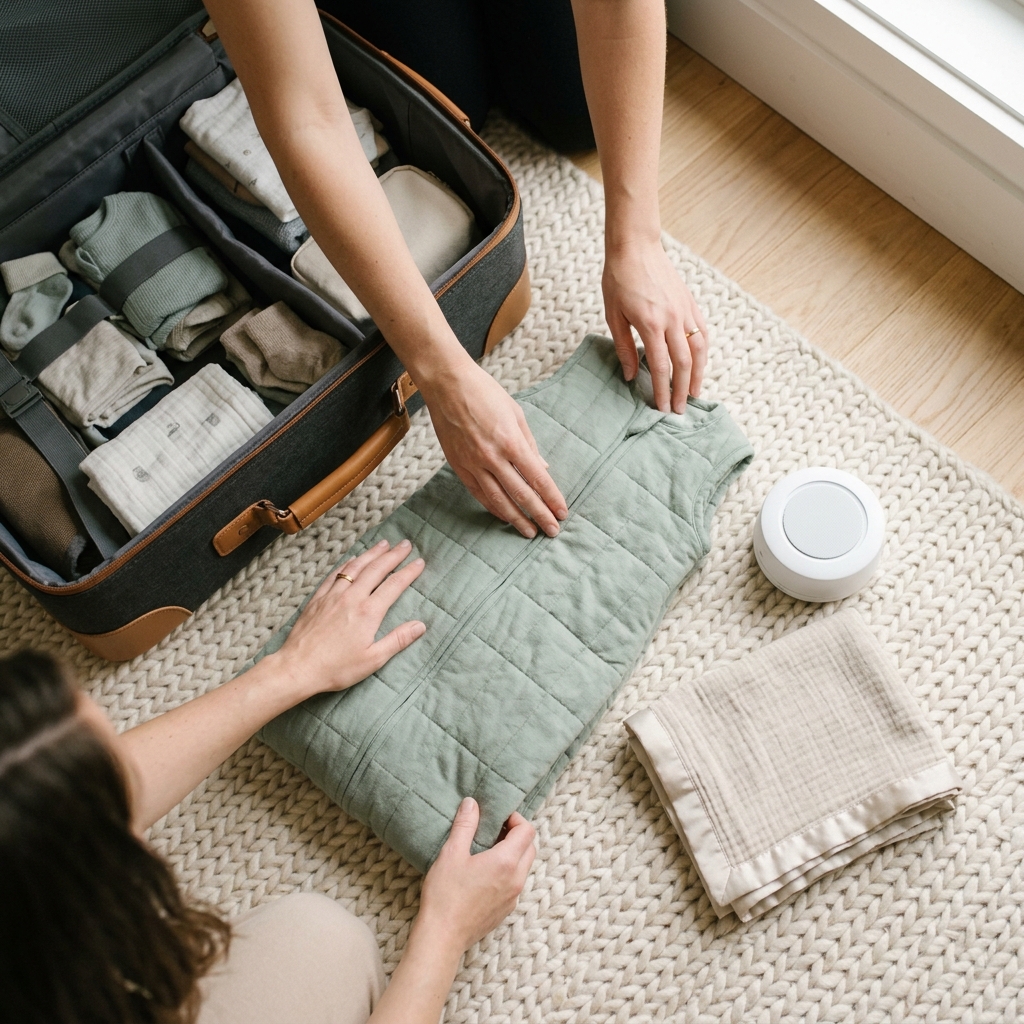
Preparation at home is half the battle. The other half is recreating your baby's ideal sleep environment once you arrive at your destination. Your goal is to control as many variables as possible to cue their brain that it's time for sleep. This means thinking about darkness, sound, and routine. Packing a dedicated toolkit for sleep can make all the difference.
A consistent bedtime routine is one of the most powerful sleep cues you have. It signals to your baby's body and mind that sleep is approaching. Your travel routine should be a condensed version of your home routine. If you read two books at home, read two books on vacation. If you sing a specific lullaby, sing that same lullaby. This predictability is reassuring in an unfamiliar place. When you arrive, a proper hotel pack and play setup involves more than just unfolding the device; it's about recreating the sensory experience of home.
Darkness is another critical element. Light, especially sunlight, inhibits the production of melatonin, the hormone that regulates sleep-wake cycles. A dark room promotes melatonin production and helps babies connect sleep cycles. Hotel rooms often have light-leaking curtains, so packing your own solution is wise. The ideal room temperature for a baby is also important, generally between 68° and 72°F (20° to 22.2°C). Pack layers like a long-sleeve and short-sleeve bodysuit to go under the sleep sack so you can adjust to the room's temperature.
Your Travel Sleep Toolkit
| Item | Purpose | Pro Tip |
|---|---|---|
| Pack 'n Play | The safe sleep space. | Use only the manufacturer's mattress and a tight-fitting sheet. |
| Wearable Blanket/Sleep Sack | Safe warmth without loose blankets. | Pack two in case of accidents. This is safer than any blanket. |
| Portable White Noise Machine | Drowns out unfamiliar hotel or family noise. | Keep the volume at a conversational level (under 50 dB). |
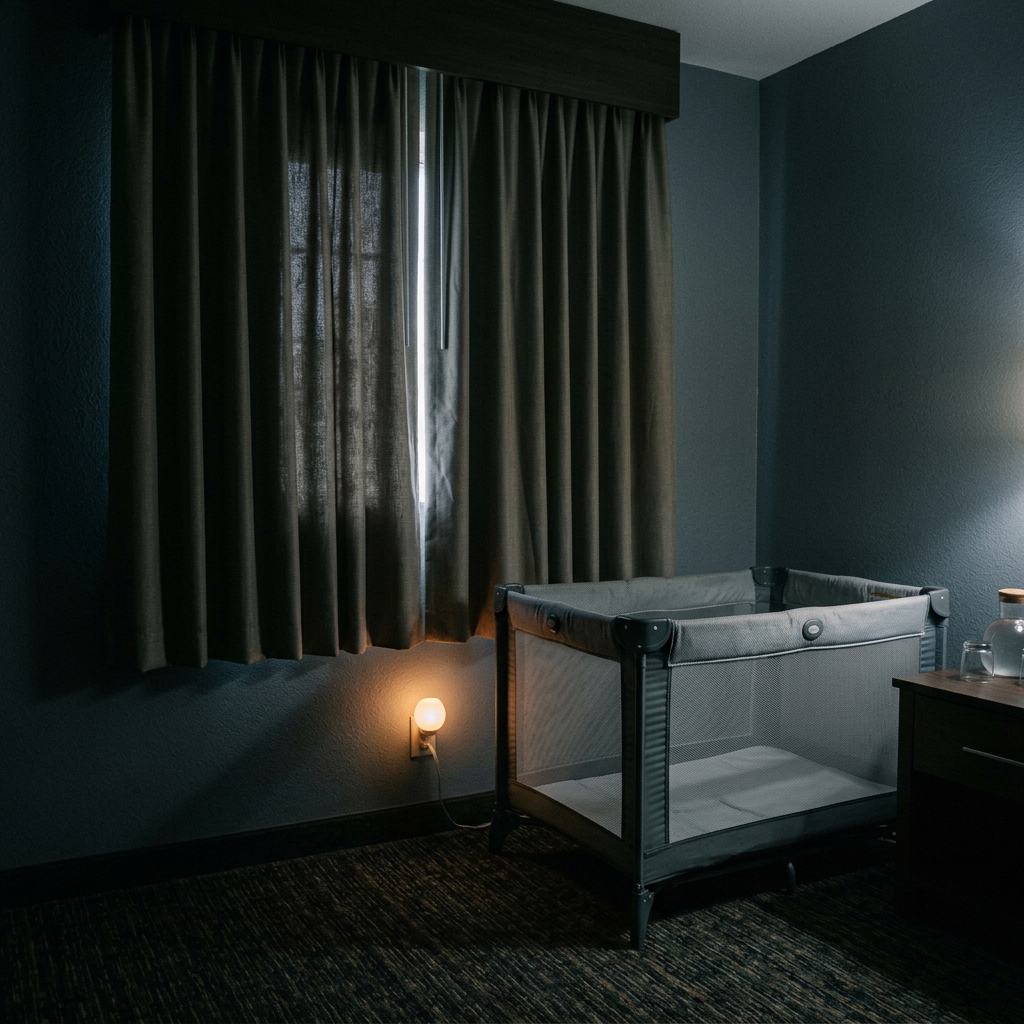
| Travel Blackout Curtains | Creates a dark room, even during the day. | A dark room is a powerful sleep cue. Taping foil to windows is a DIY alternative. |
| Familiar Crib Sheet | Brings the scent of home. | Use a sheet that fits the pack 'n play mattress snugly with no loose fabric. |
| SlumberPod (or similar) | A blackout tent that fits over the pack 'n play. | Essential for room-sharing, as it creates a separate, dark space for the baby. |
Troubleshooting Common Travel Sleep Problems
Even with the best preparation, travel can present unique challenges. A different environment means different problems can arise. Knowing how to handle these common issues will help you stay calm and consistent, which is exactly what your baby needs from you.
What If We Have to Share a Room?
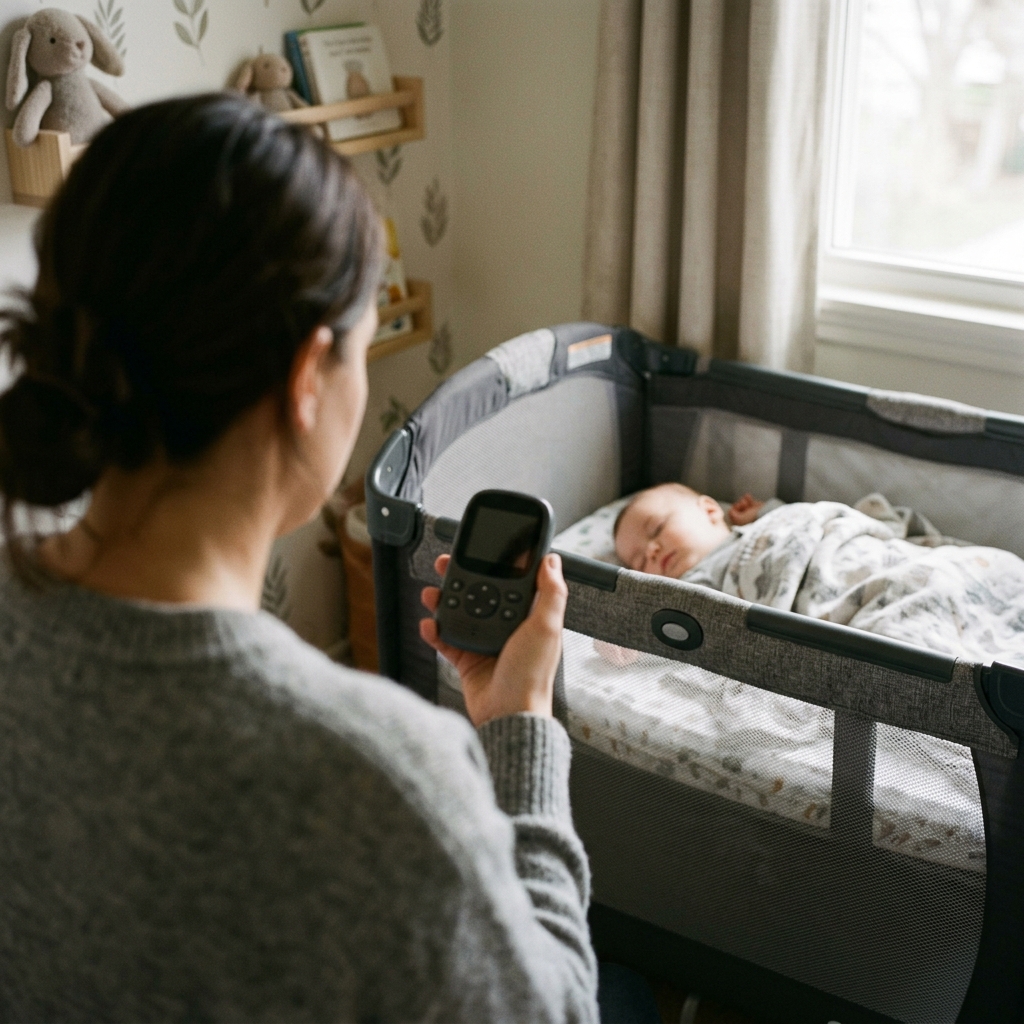
Room-sharing is one of the biggest challenges of traveling with a baby. Every cough, sniffle, or turn can wake them up, and vice versa. The key is to create as much separation as possible. Avoid setting up the pack 'n play right next to your bed. If the room has a large walk-in closet or an attached bathroom with a door, these can be good options. Place the pack 'n play there, leave the door ajar for airflow, and use a white noise machine to block sound. Always ensure the space is well-ventilated and at a safe temperature.
The most effective solution for room-sharing is a product like the SlumberPod. This is a breathable, blackout tent that fits over the pack 'n play. It creates a private, dark, and distraction-free sleep space for your baby, even if the lights are on in the main room. It allows you to move around your hotel room after your baby goes to bed without fear of waking them. For families that travel often, it is a worthwhile investment.
What About Time Zone Changes?
Crossing time zones can disrupt a baby's internal clock. Your strategy depends on the length of your trip. For short trips of one to three days, it is often easiest to stick to your home time zone. If it's 7 PM at home, put your baby to bed, even if it's only 5 PM at your destination. This avoids the difficult process of adjusting and readjusting in a short period. For longer trips, a gradual adjustment is better.
A few days before you leave, start shifting your baby's schedule in 15- to 30-minute increments toward the new time zone. Adjust naps, meals, and bedtime. Once you arrive, switch completely to the local time. Use sunlight and darkness to your advantage. Get outside in the bright light during daytime hours and make the sleep space very dark for naps and nighttime. Having a solid baby jet lag sleep plan can make the transition much smoother for everyone.
What If My Baby Wakes Up Crying?
It is very likely your baby will wake up at some point during the night in a new place. Your response is critical. First, wait a few minutes before rushing in, unless you believe they are in distress. Babies make noise in their sleep and can often resettle themselves. If you intervene too quickly, you might wake them up fully.
If they continue to cry, go to them and be reassuring but boring. Use a calm voice and a gentle touch, but avoid picking them up if possible. Your goal is to remind them they are safe without creating a new, exciting middle-of-the-night routine. The biggest mistake is to do something on vacation that you are not willing to do at home, like bringing the baby into your bed. This can create a new habit that is difficult to break when you return.
How to Set Up and Disassemble a Pack 'n Play Quickly
Struggling with a pack 'n play in a cramped hotel room with a tired baby is a frustrating experience. Luckily, there is a simple trick to it. Most models follow the same principle. For setup, the side rails must be locked and straight *before* you push the center hub down. If you push the center down first, the rails will not lock into place. Pull the center up slightly, lock each of the four rails until they click, and then push the center hub down firmly.
Disassembly is the reverse. You must pull the center hub up *before* you try to unlock the rails. Pull the fabric loop in the center of the base up as high as it will go. The base should fold into a V-shape. Only then will the buttons on the side rails release. Squeeze the release mechanism on each rail and push down. Once all four rails are unlocked, the unit will fold together easily.
Your Confident Return Home
After a successful trip, the final step is managing the return. It is common for a baby's sleep to be slightly off for a day or two after coming home. They may be tired from the travel itself or need a moment to readjust to their own crib and room. Do not worry. The key is to get back to your normal home routine immediately.

On your first day back, resume your usual nap times and bedtime. If you started any temporary habits on vacation out of desperation, like extra feedings or rocking to sleep, end them now. Your baby will quickly remember their home environment and the sleep skills associated with it. The preparation you did before the trip not only helped you on vacation but also strengthened your baby's overall sleep skills, making the bounce-back at home faster.
By prioritizing safety, focusing on preparation, and staying consistent, you can turn travel sleep from a source of anxiety into a manageable part of your adventure. You now have the tools to help your child sleep safely and well, no matter where you are.