
Sleepless nights can take a huge toll on parents. You may feel exhausted, anxious, and overwhelmed. You want your baby to sleep well, but you are not sure how to get there. Many parents search for a balanced solution. They want something more structured than no-cry methods but less intense than letting their baby cry it out alone. This search often leads them to graduated checks.
Graduated checks offer a middle-ground approach to sleep training. It is a supportive, evidence-based method that empowers you. It gives your baby the space to learn a critical new skill: self-soothing. At the same time, it provides your loving reassurance. You are always nearby to offer comfort.
This guide will give you a clear, step-by-step plan. We will explain what graduated checks are and what they are not. You will get a pre-training checklist to know if your baby is ready. We will also provide a flexible interval schedule you can adapt. Most importantly, we will give you tips to manage this process with confidence. You can help your whole family get the rest they need.
What Are Graduated Checks? (And What They Are Not)
Graduated checks are a popular sleep training technique. You may also hear it called the Ferber method or graduated extinction. The core idea is simple. Parents put their baby to bed while they are drowsy but still awake. If the baby cries, parents return to check on them. These checks happen at scheduled, gradually increasing intervals. The purpose of each check is to offer brief reassurance. This lets your baby know you are there for them. It gives them the confidence to learn how to fall asleep on their own.

Think of it like teaching a child to ride a bike. At first, you hold on to the seat to provide support. Then, you let go for a few seconds. You stay close to offer a steadying hand. Over time, you let go for longer periods. You are always there for reassurance, but you are giving them the space to find their own balance. Graduated checks work the same way. Your brief check-ins are the steadying hand. They build trust and show your baby that they are safe while they learn the new skill of independent sleep.
It is crucial to understand what this method is not. Many people confuse graduated checks with 'crying it out' (CIO). They are not the same. The CIO method, also known as extinction, involves no check-ins at all. With CIO, parents leave the room and do not return until the next morning. Graduated checks, or 'controlled crying', is a different approach. It is a form of graduated extinction. The key difference is the planned parental reassurance. You are actively involved in the process through your timed checks. This makes it a distinct choice from other no-cry sleep methods.
Another common myth is that this method causes long-term harm. Parents worry about stress and attachment issues. However, scientific research does not support these fears. Studies published in journals like *Pediatrics* have looked at the long-term effects. They found no evidence of negative impacts on behavior, emotional health, or the parent-child bond. When used correctly for a baby who is ready, graduated checks are considered safe and effective. In fact, improving sleep can lower parental stress and reduce the risk of postpartum depression, benefiting the entire family.
This method was popularized by Dr. Richard Ferber in his book, 'Solve Your Child's Sleep Problems.' If you hear someone mention the 'Ferber method,' they are talking about graduated checks. The terms are interchangeable. This method provides a clear structure for parents who want a plan. It helps babies break sleep associations, like needing to be rocked or fed to sleep. Instead, they learn to self-soothe, a skill that will help them connect sleep cycles and sleep for longer stretches through the night.
Is Your Baby Ready? The Pre-Training Checklist
Before you start any sleep training, it is vital to know if your baby is ready. Starting too early or without the right foundation can lead to frustration. This checklist will help you decide if the time is right. It empowers you to make an informed choice with a safety-first approach. Go through each point carefully. Being prepared is the first step toward success.
- Age: Is your baby at least 5 to 6 months old? Most pediatricians and sleep experts agree on this minimum age. Before this, many babies have not developed the ability to self-soothe. Their sleep cycles are also less organized. By 6 months, most healthy infants are developmentally capable of learning to fall asleep on their own. Waiting until this age ensures they are ready for this new skill.
- Health: Have you talked with your pediatrician? This is a non-negotiable step. You must rule out any underlying medical issues that could be disrupting sleep. Problems like acid reflux, food allergies, ear infections, or breathing concerns can cause pain and discomfort. These issues need to be addressed before you can expect sleep training to work. A quick check-up provides peace of mind.
- Weight & Feeding: Has your pediatrician confirmed that your baby no longer needs overnight feeds? By 6 months, many babies who are growing well get enough calories during the day. They no longer need to eat at night for nutrition. If a baby is still nutritionally dependent on night feeds, sleep training can be very difficult. Your doctor can confirm if your baby is ready to sleep through the night without a meal.
- Consistent Bedtime Routine: Do you have a calming and predictable bedtime routine? A good routine signals to your baby that sleep is coming. It should last about 20-30 minutes and be the same every night. Examples include a warm bath, changing into pajamas, reading a book, and singing a quiet song. This routine helps your baby wind down. It makes the transition to sleep much smoother.
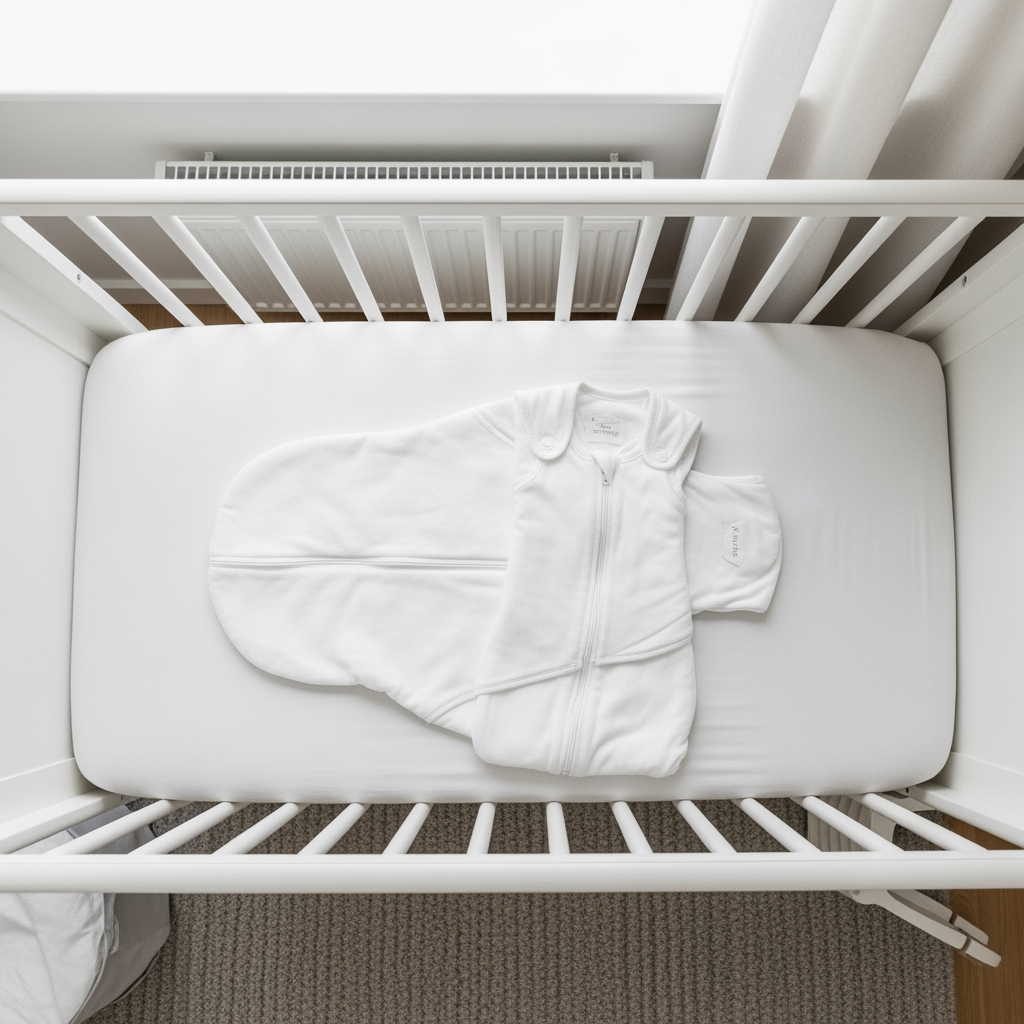
- Safe Sleep Environment: Is the crib safe? The American Academy of Pediatrics (AAP) has clear guidelines for safe sleep. The crib mattress should be firm and flat. It should be covered with only a fitted sheet. The crib should be completely empty. This means no blankets, pillows, bumpers, or toys. A safe environment is essential for any sleep plan. It also ensures your baby is comfortable and secure.
If you can answer 'yes' to all these points, your baby is likely ready. This preparation sets the stage for a smoother process. It helps you feel confident that you are making the right choice for your family at the right time. Consistency from all caregivers is the final piece of the puzzle. Make sure you and your partner are on the same page before you begin.
How to Implement Graduated Checks: The 7-Day Method
Once you have confirmed your baby is ready, you can start the process. Consistency is the most important factor for success. Try to start on a night when you can be home for the next several days, like a weekend. Both parents should understand the plan and their roles. Most families see significant improvement in 3 to 7 nights. The first few nights are often the hardest, but sticking to the plan is key. Follow these steps each night at bedtime.
- Perform the Bedtime Routine. Complete your calming, predictable routine. This signals to your baby that bedtime is approaching. End the routine in your baby's room to create a positive sleep association with their own space. Keep the atmosphere calm and loving.
- Put Baby Down Drowsy but Awake. This is the most critical step of the entire process. Your baby needs to be aware that they are being placed in the crib. If they fall asleep in your arms and then wake up in the crib, they will be confused and upset. The goal is for them to learn how to go from being awake to being asleep on their own. This is the core skill they are building.
- Say Goodnight and Leave. Have a consistent key phrase you say every night. It could be something simple like, "I love you, time to sleep." Say it with warmth and confidence, then leave the room. Do this while your baby is still awake.
- Start the Timer. If your baby starts to cry, this is when the plan begins. Look at your interval chart for the current day. Start your timer for the first interval. It is important to watch the clock and not guess the time. A few minutes can feel like an eternity when your baby is crying.
- Perform the Check-in. When the timer goes off, go into the room. Make the check-in brief and reassuring. It should only last 1 to 2 minutes. You can pat their back gently or use your soothing voice. Repeat your key phrase. The goal is to reassure them, not to stop the crying. They need to know you are there, but the actual work to
- Leave and Repeat. After 1-2 minutes, leave the room again. This is true even if your baby is still crying. This part can be very hard, but it is necessary for the method to work. Now, you start the timer for the next, slightly longer interval on your chart.
- Continue Until Asleep. Repeat this process of waiting and performing brief checks. Use the progressively longer intervals listed on your chart for that night. Once you reach the final interval for the day, continue using that same interval for any further checks until your baby falls asleep. If your baby wakes up later in the night, you start the process over again, using the interval schedule for that same night from the beginning.
The Interval Schedule: A Flexible Framework
The interval chart is the heart of the graduated checks method. It provides a clear, structured plan for your check-ins. The goal is to slowly increase the time between your visits. This gradual increase gives your baby more time to practice falling asleep on their own. It also shows them that you will always come back.
Below is a common interval schedule adapted from Dr. Richard Ferber's original method. However, it is important to view this as a flexible framework, not a rigid rule. You know your baby best. You can and should adjust this chart based on your baby's temperament and your own comfort level. The most important thing is to choose a plan and stick with it consistently.
| Day | 1st Check | 2nd Check | 3rd Check | Subsequent Checks |
|---|---|---|---|---|
| 1 | 3 min | 5 min | 10 min | 10 min |
| 2 | 5 min | 10 min | 12 min | 12 min |
| 3 | 10 min | 12 min | 15 min | 15 min |
| 4 | 12 min | 15 min | 17 min | 17 min |
| 5 | 15 min | 17 min | 20 min | 20 min |
| 6 | 17 min | 20 min | 25 min | 25 min |
| 7 | 20 min | 25 min | 30 min | 30 min |
*(Source: Adapted from Dr. Richard Ferber's original method.)*
How to Customize This Chart for Your Baby
Babies have different personalities. Some are easygoing, while others are more sensitive. A one-size-fits-all approach may not work for everyone. The beauty of this method is its flexibility. You can adjust the intervals to better suit your child. For example, some babies respond better to shorter initial waits. This feels more reassuring to them. Others get more agitated by frequent checks. For these babies, slightly longer waits from the start might be more effective. You could also create a slower progression. If the jump from Day 2 to Day 3 feels too big, you can repeat Day 2 for another night. Or, create your own chart that increases the wait times more slowly. The specific numbers are less important than the pattern. As long as the intervals are gradually getting longer and you apply them consistently, you are following the method.
What to Do During a Check-in
The check-in is for reassurance, not for soothing the baby all the way to sleep. Keep it brief and, in a way, boring. Your goal is to be loving but not overly stimulating. Your visit should last only one to two minutes. Use a consistent, calming phrase like, "I love you, you're safe, it's sleepy time." A gentle, rhythmic pat on their back or chest is okay. However, the official Ferber method advises against picking the baby up. Picking them up and putting them back down can be confusing. It sends a mixed message. It can make them cry harder when you leave again. Keep the lights off and your voice low. Your calm presence is what matters most. Then, you must leave, even if they are still crying. This consistency teaches them that while you are there for them, they have the ability to fall asleep on their own.
Troubleshooting Common Challenges
Even with the best plan, you might face some challenges. This is normal. Knowing how to respond to these common issues will help you stay on track. Below are solutions to the most frequent problems parents encounter during sleep training. A stressed parent can quickly find their specific problem and get a clear answer.

| Challenge | Solution |
|---|---|
| My baby is more hysterical after a check-in. | This is common. For some babies, seeing a parent leave again is more upsetting than not seeing them at all. First, make sure your checks are very brief (under a minute) and calm. If it persists for 2-3 nights, your baby may do better with longer intervals or a different approach, such as the |
| My baby stands up in the crib. | This is a normal developmental stage. Do not help them lie back down. They need to learn to get down on their own as part of the self-soothing process. During your brief check-in, you can gently pat their back, but let them figure out how to lie down. It is a skill they will master quickly. |
| What if my baby vomits? | Go in immediately. Clean your baby and the bedding with as little fuss as possible. Keep the lights dim and interactions minimal. Once they are clean and comfortable, say your key phrase and leave. Then, restart the interval timer from where you left off. Vomiting is often a behavioral response to intense crying, not a sign of illness. |
| It's Day 7 and it's still not working. | If you see no improvement at all (e.g., the time it takes to fall asleep isn't decreasing), it's time to re-evaluate. Go back to the pre-training checklist. Is your baby overtired from the day or undertired? Is the bedtime routine truly consistent? Is it possible they are sick or teething? If everything seems right, it may be best to take a break for a week or two and then try again. Or, consult your pediatrician for more advice. |
| How do I use this for naps? | You can use the same method for naps, but be prepared for it to be more challenging. The biological drive to sleep is much lower during the day than at night. For this reason, many sleep experts suggest mastering nighttime sleep first. Once your baby is falling asleep independently at night, you can then apply the same principles to naps. |
Making Your Decision & Your Next Steps
Choosing to sleep train is a personal decision. Graduated checks offer a structured, supportive method that has helped countless families. Remember that consistency is the single most important factor in your success. You and any other caregivers must be committed to the plan for it to work. It is also a team effort. Supporting each other through the process is just as important as supporting your baby.

The first few nights can be emotionally difficult, but they usually lead to a lifetime of healthy sleep habits. Research has shown that when done correctly for a developmentally ready baby, this method is both safe and effective. It does not cause long-term harm to the parent-child bond. In fact, a well-rested family is often a happier and healthier family. Better sleep for your baby often leads to less stress and better mental health for parents.
Trust your instincts. You have the tools and information to make the best choice for your child. By providing love, reassurance, and a consistent framework, you can guide your baby toward independent sleep. This is a skill that will benefit them for years to come. You are giving them a wonderful gift.