
You did it. You survived the sleepless nights and finally got your baby on a great sleep schedule. Then, it happened. A tiny tooth started to push through, or a sudden cold arrived. Now, all your hard-won progress feels lost. Your baby is waking up all night long, and you are back to feeling exhausted and frustrated.
First, take a deep breath. You have not failed, and you do not have to start over from zero. Teething and minor illnesses are normal parts of babyhood. They often cause temporary sleep setbacks. The extra cuddles and feedings you gave your sick baby were the right thing to do. Now, it is time to gently guide them back to their healthy sleep habits.
This guide provides a clear, five-step plan to help you reset your baby's sleep. You will learn how to tell if it is pain or habit causing the wakings. You will get a simple checklist to know when to start. Most importantly, you will receive a day-by-day plan to restore your routine and your sanity.
Step 1: Play Detective—Is It Teething, Illness, or Habit?
Before you can fix the problem, you need to know the cause. Your response should be different for a baby in pain versus a baby who has formed a new habit. Think of yourself as a sleep detective. You need to look for clues to solve the mystery of these night wakings. A cry from pain is often sharp and sudden. It might come with physical signs like pulling at ears or arching the back. A cry from habit is usually a protest. It may stop and start as your baby checks if you are coming.
During an illness, you may have rocked or fed your baby to sleep. This created a new sleep association. A sleep association is like a key that unlocks sleep for your baby. Before they got sick, their key might have been sucking their thumb or rolling into a comfy position. During the illness, the new key became you. A sleep reset is about re-teaching them to use their own self-settling key again. This is different from teething pain, which needs comfort and possible pain relief. An illness needs rest and a doctor's care. Understanding the cause is your first and most important step.
A common myth is that teething causes high fevers. The American Academy of Pediatrics (AAP) is clear on this. Teething may cause a slight rise in temperature, but a true fever over 100.4°F (38.0°C) points to an illness. Similarly, vomiting or diarrhea are signs of sickness, not just a new tooth. Fussiness from teething usually lasts about eight days. This includes the four days before a tooth cuts through and three days after. If symptoms last longer or are more severe, you are likely dealing with an illness.
Sometimes these issues can overlap. A baby might be teething and also catch a cold. Use the table below to spot the most likely cause. This will help you decide on the best course of action. Remember to trust your instincts as a parent. You know your baby best. This chart is a tool to help you make a more confident decision.
| Symptom | Likely Teething | Likely Illness | Likely Habit |
|---|---|---|---|
| Fever | None, or a slight rise (below 100.4°F). | True fever (100.4°F / 38.0°C or higher). | No fever. |
| Behavior | Irritable, fussy, increased biting/chewing. | Lethargic, unusually sleepy, or inconsolable. | Protesting at bedtime; wakes at consistent times. |
| Other Signs | Swollen gums, excessive drool, facial rash. | Congestion, cough, vomiting, diarrhea, rash on body. | Wakes, but settles quickly with the "new" comfort measure. |
| Duration | Symptoms peak in the 8-day window around tooth eruption. | Symptoms persist or worsen over several days. | Continues indefinitely after illness/teething has passed. |
After using this chart, you should have a better idea of the main issue. If signs point to illness, your focus should be on recovery, not sleep training. If it looks like a habit formed after a sickness, you can move to the next step. It is also important to understand sleep debt. Think of it like a credit card bill for sleep. Every time your baby misses needed rest, the debt grows. A sleep reset is how you make a big payment to get that balance back to zero. Ignoring this debt can lead to an overtired baby who has an even harder time sleeping.
Step 2: The "Ready-to-Reset" Checklist
Knowing when to start the sleep reset is crucial. Starting too soon, while your baby is still in significant pain or feeling very sick, is unfair to them. It will also likely fail. Waiting too long allows new habits to become deeply ingrained. This makes the reset process harder than it needs to be. This checklist gives you a clear, guilt-free signal that it is time to begin. You gave your baby the extra support they needed. Now you can feel confident about guiding them back to independence.

The main idea is to start the reset once the worst of the sickness has passed. Your baby does not need to be 100% back to normal. A lingering cough or a bit of fussiness is okay. You are looking for a clear shift from the acute phase of illness to the recovery phase. During sickness, it is normal and good to let your baby sleep more. Sleep helps the body heal. You can allow longer naps or a slightly later wake-up time. Just make sure they are still getting enough hydration and calories during their awake periods. Once they are on the mend, you can focus on the schedule again.
Go through the following points. If you can check off each one, your baby is likely ready. If you are unsure about one or two, it is okay to wait another day. It is always better to start when you are sure they are feeling better. If you have any doubts about their health, a quick call to your pediatrician is always the best choice. They can confirm if your baby is truly on the road to recovery.
- Fever-Free: Your baby has been without a fever (over 100.4°F) for at least 24-48 hours without the use of fever-reducing medication.
- Symptoms Improving: Major illness symptoms like vomiting, diarrhea, or a severe cough have resolved.
- Appetite Returning: Your baby is back to taking bottles or eating solids with some regularity.
- Mood is Better: While they may still be a bit fussy, their general mood when awake has noticeably improved.
Once you can confidently say yes to these points, you are ready for action. Having this checklist helps remove the guesswork. You are not being mean by re-establishing boundaries. You are helping your baby get the restorative sleep their growing brain and body need. In fact, a baby who has the energy to protest the change in routine is showing you they are feeling much better. Think of it as a positive sign that they are ready for their old schedule.
Step 3: Your 3-Night Reset Plan
This 3-night plan is a balanced approach to get your baby's sleep back on track. It is designed to be effective yet compassionate. The goal is to gradually reduce the extra support you have been giving. This allows your baby to rediscover their self-soothing skills. The single most important factor for success is consistency. Your partner and any other caregivers must be on the same page. Everyone needs to follow the same plan. You may hear some crying, especially on the first night. This is normal protest. It is your baby's way of saying, "Hey, this is different from yesterday!"

Before you begin, make sure the sleep environment is perfect. The room should be dark, cool, and quiet, perhaps with a white noise machine. Prepare yourself mentally. It can be hard to listen to your baby cry. Remind yourself that you are giving them the gift of independent sleep. This is a skill that will benefit them for years. This plan is a middle-ground option. A gentler approach might involve staying in the room for more nights. A quicker approach might involve fewer check-ins. This plan balances reassurance for your baby with a speedy return to routine.
Each night, you will dial back your intervention a little more. This sends a clear and consistent message. It tells your baby, "I am here and I love you, but it is time for you to sleep in your own crib." If your baby needs a little more time, you can extend this plan to five or even seven nights. The key is to see progress each night, with protests becoming shorter and less intense. Now, let's get started.
- Night 1: Re-establish Routine & Offer Reassurance. Follow your exact pre-illness bedtime routine. This signals to your baby that things are going back to normal. After the routine, place your baby in the crib awake, not asleep. This is vital. They need to learn to go from awake to asleep on their own. If they protest, you can stay in the room. Sit in a chair next to the crib. Offer physical comfort like patting their back or shushing. You can also offer verbal reassurance in a calm, low voice. Your goal is to help them calm down, but allow them to do the final part of falling asleep by themselves. If you added extra night feeds, try cutting the volume in half tonight. Or, for babies over six months, you can offer water first.
- Night 2: Reduce Intervention. Repeat the bedtime routine exactly as you did on Night 1. Consistency is everything. Place your baby in the crib awake. Tonight, you reduce your presence. If you sat by the crib on Night 1, move your chair to the middle of the room. When your baby protests, respond with your voice first. Say something like, "It's okay, I'm here. It's time to sleep." Wait a minute or two before using physical touch. If they get very distressed, you can go to the crib for a brief moment of patting. Then, return to your chair. The goal is to show them that your voice alone is often enough reassurance.
- Night 3: Return to Baseline. You know the drill. Follow the routine and put your baby down awake. Tonight, you aim to return to your pre-illness baseline. This may mean leaving the room after putting them in the crib. If they protest, you can offer reassurance from the doorway. Your presence should be minimal. By this night, your baby is remembering their self-soothing skills. Protests should be much shorter. If they still wake for a feed you want to drop, continue to reduce the amount. Soon, it will not be worth their effort to wake up for it. Stay strong. You are almost there.
Step 4: Safely Manage Real Discomfort (and Avoid Duds)
Even as you reset sleep habits, you must manage any real pain your baby is feeling. A key part of building trust with your child is responding to their needs. This is also a key part of building your own confidence as a parent. You need to know you are not ignoring genuine discomfort. This section focuses on safe and effective ways to help your baby feel better. It also covers which common remedies you must avoid. A 2025 study showed that while parents thought teething ruined sleep, the data often showed otherwise. The disruption came from changes in parental responses. By managing pain effectively and sticking to a routine, you can avoid this trap.
Using safe remedies shows your baby you are there for them. It also makes the sleep reset process smoother. A baby who is not in pain is much more capable of re-learning how to self-soothe. This section will give you the tools you need. You will learn what the American Academy of Pediatrics and the FDA recommend. This information is based on science and safety. It will empower you to make the best choices for your little one's health and well-being. Never give your baby any medication without first talking to your pediatrician.
Approved Pain Relief Options
When your baby is clearly in pain, medication can be a kind and effective choice. The two main options are acetaminophen (like Tylenol) and ibuprofen (like Advil or Motrin). It is absolutely critical that you talk to your pediatrician first. They will give you the correct dosage based on your baby's current weight, not just their age. This is the only way to ensure safety.
Ibuprofen can only be given to babies who are 6 months or older. Many pediatricians prefer it for teething pain, especially at night. This is because it is an anti-inflammatory, which can help reduce gum swelling. It also tends to last a bit longer than acetaminophen, potentially giving you a longer stretch of sleep. If you suspect an ear infection, pain can be worse when lying down. In this case, pain relief before bed is very important. Always follow your doctor's advice on which medication to use and how often to give it.
Non-Medicated Comfort Measures
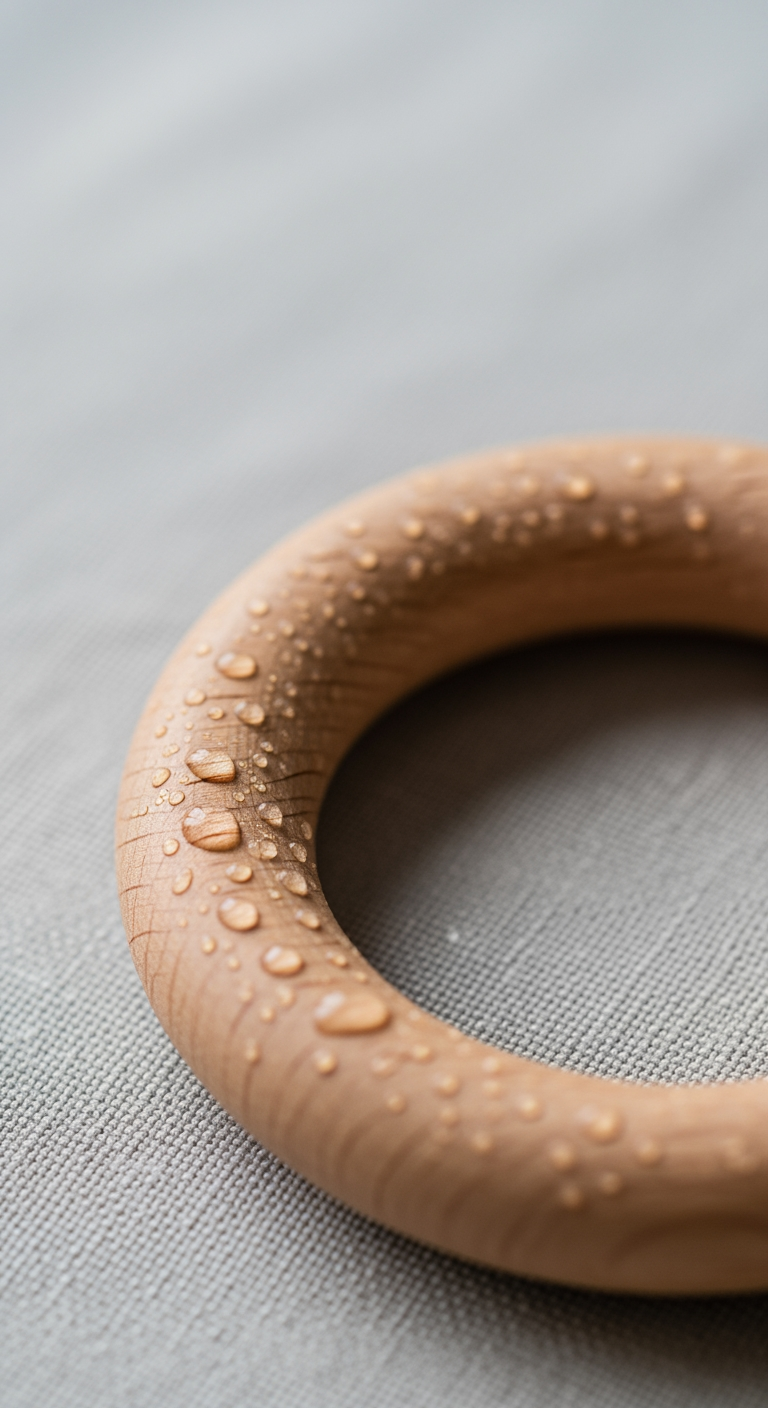
Medication is not the only way to offer comfort. There are many safe, non-medicated things you can do to help your baby. For teething pain, cold can be very soothing. Offer a solid rubber teething ring that has been chilled in the refrigerator. Do not freeze it. A frozen ring can be too hard and may bruise your baby's delicate gums. You can also wet a clean washcloth, twist it, and chill it. The texture and cold can feel great to chew on. A gentle gum massage with a clean finger can also provide counter-pressure and relief.
If your baby is congested from a cold, helping them breathe better will help them sleep better. A cool-mist humidifier in their room adds moisture to the air. This can help loosen mucus. Using a simple saline nasal spray can also help thin out mucus. You can then use a nasal aspirator to gently clear their nose before bed and during night wakings if needed. These comfort measures can be used at any time, day or night. They work well alongside your sleep reset plan.
Remedies to AVOID
The baby aisle is full of products that promise to end teething pain. Unfortunately, some of the most common ones are dangerous. The U.S. Food and Drug Administration (FDA) has issued strong warnings about them. It is vital for your baby's safety that you avoid these products completely. At the top of the list are topical numbing gels. These are products like Orajel that contain benzocaine or lidocaine. These ingredients can cause a rare but deadly condition called methemoglobinemia. It reduces the amount of oxygen in the blood. There is no reason to take this risk.
You should also avoid homeopathic teething tablets and gels. The FDA has warned against these because they have been found to contain inconsistent and sometimes toxic amounts of belladonna. Belladonna is a poison and has no place in a teething remedy. Amber teething necklaces are also unsafe. They are a choking and strangulation hazard. There is also no scientific proof that they work. Stick to the safe, approved methods. Your baby's health is not worth the risk of trying an unproven or dangerous product.
What This Means for Your Family: From Reset to Routine
You have successfully navigated a major parenting challenge. By following these steps, you have done more than just get your sleep back. You have responded to your baby's needs with compassion. You have managed their pain safely. And you have confidently guided them back to a healthy sleep routine. Remember the key takeaways: first, identify the problem. Then, wait for the right time to start the reset. Finally, follow a consistent plan.

Setbacks from teething and illness are not a sign of failure. They are a normal part of life with a baby. The brief period of protest during the reset is also normal. It is a sign that your baby is adjusting to the old routine. Now, you have a toolkit. You can use this plan again for future disruptions. Consistency will always be your most powerful tool. A well-rested baby is happier, healthier, and better able to handle the next little bump in the road. And a well-rested parent is better equipped for all the joys and challenges of raising a child.