
Your baby is finally asleep in your arms. They are warm, content, and breathing deeply after a successful nursing session. You stand up and begin the slow, careful walk to the crib. You hold your breath as you bend over, lowering your precious bundle onto the mattress. The moment their back touches the sheet, their eyes fly open. A familiar cry begins. This frustrating cycle can leave you feeling exhausted and defeated.
If this scene sounds familiar, you are not alone. Many parents face this exact challenge every night. Nursing your baby to sleep is a natural and loving act. You have not created a "bad habit." Your baby's reaction is based on simple biology. The good news is that there is a way to end this cycle. You can learn to transfer your sleeping baby successfully. You can also gently guide them toward falling asleep on their own.
This guide offers a practical two-phase plan. Phase one gives you an immediate fix. It will teach you how to master the transfer tonight. Phase two provides a long-term, gentle solution. It helps you move from nursing to sleep to independent sleep over time. You can achieve restful nights for both you and your baby.
Why Your Baby Wakes Up: The Science of the Transfer
Understanding why your baby wakes up is the first step. It is not a behavioral issue or a sign of manipulation. It is a purely biological response to sudden changes in their environment. A baby's world is entirely sensory. The move from your warm arms to a cool, flat crib is a major shock to their system. When you know the reasons behind the waking, you can take steps to prevent it. This knowledge empowers you to work with your baby's instincts, not against them. The three main culprits are a primitive reflex, a change in temperature, and a sudden sensory shift. Each of these can jolt a baby out of a peaceful slumber. Let's break down each one.

- The Moro (Startle) Reflex: This is a key reason for failed transfers. The Moro reflex is an involuntary survival instinct. Imagine dozing off and suddenly feeling like you are falling. You would likely flail your arms and jolt awake. This is what your baby experiences. When you lower them into the crib, especially if their head tilts back, their brain triggers this "I'm falling!" alarm. Their arms shoot out, their body tenses, and they wake up instantly. This reflex is very strong in young infants. It is a normal part of their neurological development. A slow, secure transfer method is essential to keep this reflex from activating.
- Temperature Shock: Your body is a cozy 98.6°F (37°C). It is a human incubator that has kept your baby warm and comfortable. In contrast, a crib mattress, even in a warm room, can feel shockingly cold against their skin. This abrupt change in temperature is a powerful wake-up call. It tells their sensitive system that something has changed dramatically. They have moved from a warm, living environment to a cool, still one. Preparing the crib surface to be less cold can make a huge difference. This simple step helps make the transition from your arms to the crib less jarring for your baby.
- Sensory Shift: When your baby is in your arms, they are surrounded by familiar sensations. They have your unique scent, the rhythmic sound of your heartbeat, and the secure feeling of being held. This creates a safe and predictable sleep space. The crib is a completely different world. It is flat, still, and smells neutral. This sudden loss of comforting sensory input can create a sense of separation and alarm. It is like their sleep password has been denied. They wake up looking for the comfort they just lost. Using techniques to maintain a sense of security during and after the transfer can help bridge this sensory gap.
These three factors often work together. A baby's sleep is a delicate state. Their sleep cycles are much shorter than ours. They move between light sleep and deep sleep frequently. A transfer attempted during a light sleep phase, combined with these sensory shocks, is almost certain to fail. The goal of a successful transfer plan is to minimize these shocks. You do this by waiting for the right moment in their sleep cycle and making the crib feel as close to your arms as possible. This approach respects your baby's biology and sets you both up for success.
Phase 1: Mastering the "Deep Sleep" Transfer (The Immediate Fix)
This phase is all about immediate relief. The goal is simple: get your sleeping baby into their crib without waking them. This is not about long-term sleep training. It is about giving you a break tonight. By mastering these steps, you will gain confidence and much-needed rest. This process is a skill. It may take a few tries to perfect, so be patient with yourself and your baby. Each step is designed to counteract the biological reasons babies wake up. Follow them in order for the best chance of success. This is your action plan for a successful transfer, starting now.
Step 1: Prepare the Landing Zone
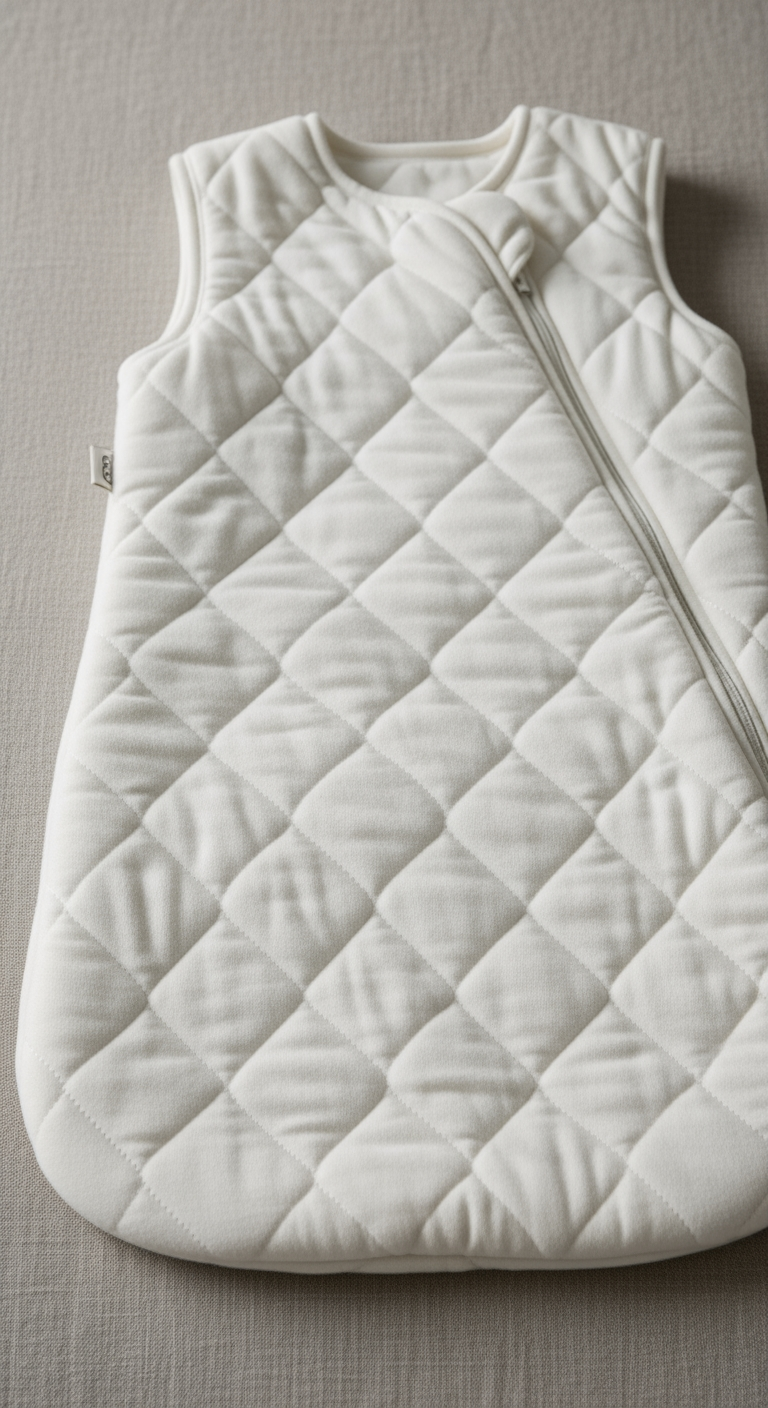
A successful transfer begins before your baby even falls asleep. You need to prepare the crib to be as welcoming as possible. First, address the temperature shock. Place a hot water bottle or a heating pad on the crib sheet for a few minutes before the transfer. Always remove it before you put your baby down. The goal is a lukewarm surface, not a hot one. This simple action makes the mattress less startling. Next, create a consistent sensory environment. The room should be dark. Use blackout curtains to block any outside light. Have a white noise machine running. The constant, gentle sound helps mask sudden noises and mimics the sounds of the womb. Finally, consider scent. You can sleep with the crib sheet for one night before using it. This transfers your familiar smell to the crib, making it feel safer and less foreign to your baby. A well-prepared space is half the battle won.
Step 2: Wait for the "Noodle Arm" Stage
Timing is everything. Moving your baby too soon is a common mistake. You must wait until they are in a deep sleep. A baby's sleep cycle is like a rollercoaster. The first 20-25 minutes are often a descent into the "valley" of deep sleep. This is your golden window. In this stage, their body is fully relaxed and less likely to be disturbed. How can you tell? Look for clear signs. Their breathing will be slow, deep, and regular. Their eyelids will be still, with no fluttering. They might have a slack jaw. The most reliable method is the "noodle arm" or "ragdoll arm" test. Gently lift one of your baby's arms and let it go. If it drops heavily without any resistance, like a wet noodle, they are in deep sleep. If they pull it back or show any tension, they are still in a light sleep phase. Wait another five to ten minutes and test again. Rushing this step will almost always lead to a failed transfer.
Step 3: Execute the "Butt-First" Transfer
This is the physical part of the transfer. Your movement should be slow, deliberate, and smooth. The "butt-first" technique is highly effective because it prevents the falling sensation that triggers the Moro reflex. As you approach the crib, hold your baby close to your body. Bend at your knees, not your waist, to get as low as possible. The transfer should happen just inches above the mattress. Begin by lowering your baby's feet and bottom to the mattress first. Once their bottom and legs are securely on the surface, gently lower their upper body and back. Their head should be the absolute last part of them to touch the mattress. This sequence provides a feeling of stability. It makes their brain feel supported, not like it is falling backward. Keep your body in contact with your baby for as long as possible during the process. Move with extreme slowness, as if you are moving through water.
Step 4: The Lingering Touch
Once your baby is in the crib, do not pull away immediately. The sudden loss of contact can be just as jarring as the transfer itself. This final step helps ease the sensory transition. Keep one hand placed firmly but gently on their chest or tummy. This reassuring pressure helps them feel secure and grounded. You can use your other hand to cup their head or gently hold their side. Stay in this position for one to two minutes. You might feel their body relax even further. When you are ready to leave, remove your hands very slowly. Take away the hand on their side first. Wait a moment. Then, slowly lift the hand from their chest, lightening the pressure gradually. A slow retreat is just as important as a slow descent. This lingering touch tells your baby they are safe, even after you have let go.
Phase 2: The Gradual Transition to Independent Sleep (The Long-Term Goal)
Once you feel confident with the transfer, you can start thinking about the long-term goal. This is about helping your baby learn to fall asleep without always needing to nurse. This is not about letting your baby cry it out. It is a gentle, gradual process of changing sleep associations. A sleep association is like a secret password for sleep. Right now, nursing is the password. The goal is to teach your baby a new password, like their crib and a calm routine. We will do this by creating a small buffer between nursing and sleeping. This process should happen slowly, over the course of a week or more. The following plan is a sample. You can adjust it to fit your baby's temperament and your comfort level. The key is to be consistent. This consistency helps your baby understand the new routine and feel secure with the change.

This plan breaks the process into manageable steps. You start by perfecting the transfer you learned in Phase 1. Then, you introduce a small activity after nursing. Finally, you move the entire nursing session to the beginning of the bedtime routine. This creates a clear separation between eating and sleeping. Remember, the goal for the final days is to place your baby in the crib while they are calm and drowsy, but still awake. This is the final step in teaching them how to fall asleep on their own.
| Day | Bedtime Routine Step | Goal |
|---|---|---|
| Days 1-3 | 1. Nurse to Sleep <br> 2. Hold for 5 mins <br> 3. <strong>Perform Crib Transfer</strong> | Build confidence with the transfer technique. Success is getting the baby into the crib asleep. |
| Days 4-5 | 1. Nurse until very drowsy <br> 2. Read one short book <br> 3. Rock to sleep <br> 4. <strong>Perform Crib Transfer</strong> | Introduce a tiny buffer activity (the book) between nursing and full sleep. |
| Days 6-7 | 1. Nurse (lights on low) <br> 2. Change into PJs/Sleep Sack <br> 3. Read book <br> 4. Rock/Soothe until drowsy <br> 5. <strong>Place in crib drowsy</strong> | Move nursing to the start of the routine. The goal is now to have the baby finish falling asleep in the crib. |
During Days 4-5, the goal is to gently unlatch the baby just before they are completely asleep. The short book creates a small separation. During Days 6-7, the change is bigger. Nursing now happens with the lights on low, before the final steps of the routine. This helps your baby understand that nursing is part of getting ready for bed, not the act of falling asleep itself. When you place them in the crib "drowsy but awake," it means they are calm and relaxed but aware of their surroundings. They may fuss a little. This is normal protest, not distress. You can stay with them, offering a soothing hand and gentle shushing sounds as they learn this new skill.
Troubleshooting: When the Transfer Fails
Even with a perfect plan, some transfers will fail. It is important to remember that this is normal. Do not let a failed attempt discourage you. Your own stress can make your baby more tense. Staying calm is one of your most powerful tools. Instead of feeling frustrated, try to see it as a learning opportunity. Each attempt gives you more information about your baby's unique needs and sleep patterns. Sometimes a small adjustment is all that is needed. Other times, it is best to stop and try again later. It is okay to "give up" for one sleep period if things are not working. Forcing it will only create more stress for both of you. Tomorrow is a new day with a new opportunity to try again. Here are some common problems and their solutions.
- If Baby Startles on the Way Down: This is a clear sign that the Moro reflex was triggered. This usually means you moved too quickly or did not maintain a secure, butt-first position. The sensation of their head tilting back, even slightly, can be enough to cause the startle. If this happens, bring the baby back up to your chest to soothe them. Once they are calm again, restart the process. This time, move even more slowly. Focus on keeping their body curled and compact. Ensure their bottom makes contact with the mattress well before their back and head.
- If Baby Wakes Immediately on Mattress Contact: This points to two likely culprits: temperature shock or light sleep. Feel the mattress surface. Is it cool to the touch? If so, make sure to pre-warm it more effectively next time. More often, this means the baby was not in a deep enough sleep. Review the signs of deep sleep. Did you wait the full 20-25 minutes? Did you perform the "noodle arm" test? A baby in a light sleep phase is highly aware of their surroundings. Any change can wake them. Next time, try waiting an additional five minutes after you think they have entered deep sleep.
- If You've Tried 3 Times and It's Not Working: It is okay to stop. Trying repeatedly can make both you and your baby anxious and overtired. This makes sleep even harder to achieve. If three attempts at a single nap or bedtime fail, it is time to reset. Soothe your baby back to sleep in whatever way works. Try the transfer again at the next sleep opportunity. It is also important to follow safe sleep guidelines from the American Academy of Pediatrics (AAP). This includes placing baby on their back in a bare crib and room-sharing (not bed-sharing) for at least the first six months. If transfers consistently fail and cause significant stress, you might explore other safe options that work for your family.
Your Next Steps on the Path to Independent Sleep
You now have a complete toolkit for the nurse-to-crib transfer. You have a plan for immediate success and a gentle path toward long-term independent sleep. Remember that you are teaching your baby a valuable new skill. Like learning to walk or talk, it takes time, practice, and patience. The most important factor for success is consistency. Your baby thrives on routine and predictability. Sticking to the plan helps them understand what to expect.

To avoid feeling overwhelmed, focus on one sleep period at a time. Bedtime is often the easiest place to start. Sleep pressure is highest at night, which can make your baby more receptive to learning. Once you have mastered the transfer at bedtime, you can apply the same techniques to naps. Be kind to yourself throughout this process. There will be good nights and tough nights. Progress is not always a straight line. Celebrate the small wins, like a single successful transfer.
By understanding the science behind why your baby wakes and using these gentle, responsive techniques, you are setting them up for a lifetime of healthy sleep habits. You are not just solving a short-term problem. You are empowering your baby with the ability to self-soothe and feel secure in their own sleep space. This journey will lead to more rest for everyone in your home. You can do this.