
Are you feeling exhausted? Do long, sleepless nights have you searching for answers? Many parents face the challenge of teaching their baby to sleep. You want a solution that works. But you also want a method that feels right for your family. The constant rocking, feeding, or holding to sleep is no longer working. You need a change, but the thought of letting your baby cry endlessly feels wrong.
The graduated checks method offers a balanced approach. It is a structured, evidence-based plan. It provides a middle ground between intense crying methods and no-cry options. This method empowers your child to learn the vital skill of self-soothing. It also reassures them that you are always nearby. This guide will give you a clear, actionable plan to regain control of your nights.
Here, you will learn everything you need to know. We will explain what the graduated checks method is and why it works. We will show you exactly how to do it, step by step. You will also find solutions for common problems that parents face. Get ready to help your family find the path to more peaceful nights and well-rested days.
What is the Graduated Checks Method?
The graduated checks method is a widely used sleep training technique. You may also know it by other names. These include the Ferber method, graduated extinction, or timed intervals. Dr. Richard Ferber first described this approach in his book, "Solve Your Child's Sleep Problems." It is one of the most researched sleep training methods available today. The core idea is simple. You help your baby learn to fall asleep on their own. You do this by offering comfort in a planned, predictable way.

This method is not the same as unattended crying, often called "cry it out." With graduated checks, you never abandon your baby to cry alone for the whole night. Instead, you check on them at specific, timed intervals. These intervals get progressively longer over several nights. The purpose of each check is to briefly reassure your child. You let them know you are there and that they are safe. This balance of support and independence is what makes the method effective. It gives your child the space to discover their own ability to self-soothe. At the same time, your presence reminds them they are loved and secure.
Think of it like teaching a child to ride a bike. At first, you might use training wheels. The training wheels provide support and build confidence. The timed check-ins in this method are like those training wheels. They offer support while your baby learns a new skill: falling asleep independently. As your baby gets better at it, you raise the training wheels a little. This means you make the time between checks longer. Eventually, your child finds their own balance. They can fall asleep without the training wheels at all. They have mastered the skill of self-soothing.
The science behind this method involves understanding sleep associations. A sleep association is any object or action your baby needs to fall asleep. This could be rocking, nursing, or a pacifier. These can become problems when your baby wakes at night. During natural, brief wakings between sleep cycles, they need that same action to fall back asleep. The graduated checks method helps you replace these parent-dependent associations. The new association becomes the crib and their own ability to settle down. Research supports this approach. The American Academy of Pediatrics (AAP) recognizes that behavioral sleep interventions are safe and effective for infants. A key 2016 study in the journal Pediatrics found no long-term negative effects on child emotions, behavior, or parent-child attachment from methods like graduated extinction.
The goal of the brief check-in is not to stop the crying entirely. This is a common misunderstanding. The check is for reassurance only. You go in, say a calm phrase, and maybe give a gentle pat. Then you leave, even if the baby is still upset. This consistency is crucial. It teaches the baby that while you are there for them, it is ultimately their job to fall asleep. This process helps them build confidence and independence, leading to better sleep for everyone in the long run. It puts you in the role of a supportive coach, cheering from the sidelines as your baby learns to win the game of sleep.
Is Your Baby Ready? The Right Time to Start Graduated Checks
Starting any sleep training method at the right time is critical for success. The graduated checks method is best for babies who are developmentally ready. Pushing too early can lead to frustration for both you and your child. Before you begin, it is important to assess if your baby shows the right signs of readiness. This ensures the process is as smooth and effective as possible. It also gives you confidence that you are making the right choice for your child's developmental stage. Let's review the key signs that show your baby is prepared to learn this new skill.
Below is a checklist of readiness signs. If your baby meets these criteria, you can feel more confident starting the graduated checks method. Consulting with your pediatrician is always the first and most important step.
- Age: Baby is at least 4-6 months old. Most experts and studies focus on babies six months and older.
- Health: Baby is healthy and gaining weight well. Get approval from your pediatrician, especially if there are medical issues like reflux.
- Night Feedings: Baby is no longer nutritionally dependent on multiple night feeds. Always confirm this with your doctor.
- Self-Soothing Attempts: You see your baby trying to calm down on their own, like sucking on their hand or rubbing their face.
- Breaking Sleep Associations: The current way of falling asleep (like rocking or feeding) is no longer sustainable for your family.
Let's explore these points more deeply. The 4-to-6-month age range is important for several reasons. Younger babies may not have a developed circadian rhythm. Their sleep patterns are more chaotic. By six months, most babies have established a more regular day-night cycle. They also begin to understand object permanence. This means they know you still exist even when you leave the room. This understanding is key to the reassurance part of the check-ins. Starting too young might not work because the baby isn't developmentally capable of learning to self-soothe.
Health is a non-negotiable prerequisite. You must rule out any medical reason for poor sleep. Issues like acid reflux, food allergies, or even an ear infection can cause pain that prevents sleep. Crying in these cases is not a behavioral issue; it's a sign of discomfort. Trying to sleep train a baby in pain is both ineffective and unfair. A quick visit to your pediatrician can give you peace of mind. They can confirm your baby is healthy, gaining weight properly, and ready for this new step.
Dropping night feeds is another major milestone. Many babies are physically capable of sleeping for long stretches without calories by six months. However, this varies for every child. Your pediatrician can help you decide if your baby still needs to eat at night for nutritional reasons. Sometimes, you can combine sleep training with night weaning. You might decide to keep one planned feed while using the graduated checks method for all other wakings. The goal is to separate eating from the act of falling asleep.
The Step-by-Step Graduated Checks Method
Now that you know what the method is and have decided your baby is ready, it's time to learn the process. Success with graduated checks depends heavily on consistency and preparation. Knowing the steps ahead of time will help you and your partner stay on the same page. It will also help you remain calm and confident, which your baby will sense. This method is a clear plan, not a guessing game. Follow these steps carefully each night for the best results.
Here is the process broken down into five simple steps. Following this sequence is essential for teaching your baby how to fall asleep independently.
- Establish a Bedtime Routine. Create a calming, consistent routine that lasts about 20-30 minutes. This signals to your baby that sleep is coming. A good routine could be a warm bath, putting on pajamas, reading a book, and singing a quiet song. Avoid stimulating activities like screen time or rough play. The routine should end in your baby's room to strengthen the connection between their room and sleep.
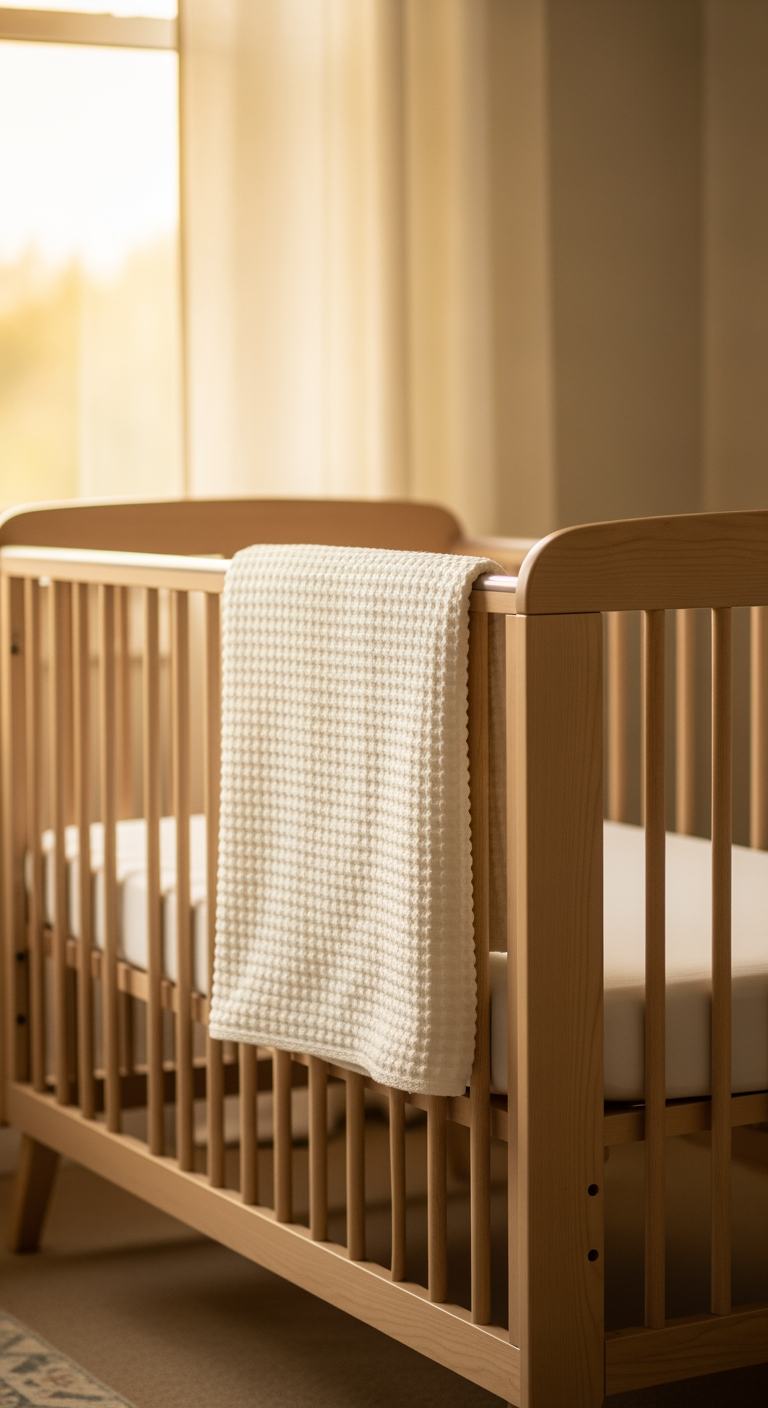
- Put Baby Down Awake. This is the most important step. After the routine, place your baby in their crib while they are calm but fully awake. Not drowsy, but awake. This is crucial because they must learn the skill of going from an awake state to a sleeping state on their own. If they are already half-asleep, they miss the learning opportunity. This step can be hard for parents, but it is the foundation of the entire method.
- Say Goodnight and Leave. Use a consistent, loving phrase like, "I love you, it's time to sleep now. Goodnight." Then, leave the room confidently. Your calm demeanor is important. If you seem anxious or hesitant, your baby may feel more distressed. Show them that you are comfortable with them being in their crib.
- Start the Timer. If your baby starts to cry, begin your first timed interval. Use a clock or your phone to keep track. It's important to be precise. Do not hover by the door. Try to busy yourself with something in another room to manage your own anxiety. Trust the clock and the plan.
- Perform the Check. When the timer ends, go into the room. Keep the check brief, lasting only 1-2 minutes. Use your calm voice and reassurance phrase again. You can give a gentle pat on their back or tummy. It is very important that you do not pick the baby up. Picking them up sends a mixed message and undermines the process. After your brief check, leave the room, even if they are still crying. Then, start the timer for the next, longer interval.
The intervals between checks gradually increase each night. This gives your baby more time to practice self-soothing. The chart below is a common starting point proposed by Dr. Ferber. Remember, this is a template. You can adjust the times to be shorter or longer based on your comfort level and your baby's temperament. The key is to choose a plan and stick with it.

Sample Graduated Checks Interval Chart
| Day | 1st Check | 2nd Check | 3rd Check | 4th Check | Subsequent Checks |
|---|---|---|---|---|---|
| 1 | 3 min | 5 min | 10 min | 10 min | 10 min |
| 2 | 5 min | 10 min | 12 min | 12 min | 12 min |
| 3 | 10 min | 12 min | 15 min | 15 min | 15 min |
| 4 | 12 min | 15 min | 17 min | 17 min | 17 min |
| 5 | 15 min | 17 min | 20 min | 20 min | 20 min |
You continue this pattern, increasing the intervals each day until your baby is falling asleep with little or no crying. Most families see significant improvement within 3 to 7 nights. If your baby falls asleep during one of the waiting periods, the process is over for that sleep event. If they wake up later in the night, you start the process again from the first interval for that day.
Troubleshooting: Common Challenges and How to Solve Them
Even with a perfect plan, you may face challenges during sleep training. This is completely normal. Babies are not robots, and they may react in unexpected ways. Knowing how to handle common issues can prevent you from giving up too soon. The key is to stay consistent while also being responsive to your child's unique needs. This section will address the most frequent problems parents encounter and provide clear, actionable solutions to keep you on track.

-
Problem: The check-ins make my baby more hysterical.
Solution: This is a sign that your presence is stimulating rather than calming. For some babies, seeing you leave again is harder than not seeing you at all. If this happens, you have a few options. First, try lengthening the initial interval. Instead of starting at 3 or 5 minutes, you might start at 10 or 15 minutes. This gives your baby more of an opportunity to settle down before you intervene. If, after two or three nights, the checks consistently make the crying much worse, this specific method may not be the best fit for your child's temperament. You might consider a method with less intervention (full extinction) or more intervention (like the Chair Method).
-
Problem: My baby stands up or sits up in the crib.
Solution: This is a very common developmental stage that often coincides with sleep training. It can be stressful to see your baby standing and crying. The rule of thumb is to remain as neutral as possible. During your check-in, you can lay them back down once, calmly and without much interaction. However, avoid getting into a power struggle. If they pop right back up, do not repeatedly lay them down. This can turn into a game. A major part of sleep training at this age is allowing your baby to learn how to get back down on their own. They have the skill to pull up, and they can learn the skill to lie down. Don't let this derail your plan.
-
Problem: It works for bedtime, but not for night wakings.
Solution: This frustrating scenario is almost always a result of inconsistency. It can be tempting to give in during a 2 AM waking just to get back to sleep quickly. However, doing so teaches your baby that if they cry long enough at night, you will eventually come and help them to sleep. You must apply the same interval schedule for all night wakings that you use at bedtime. For each separate wake-up, you restart the clock from the first interval for that day. This consistent response is what teaches them that the rules are the same, no matter the time. Sometimes, night wakings may briefly get worse before they get better. This is called an "extinction burst" and is a sign the training is working.
-
Problem: Naps are a disaster.
Solution: Nap training is often harder than night training. The biological drive for sleep is much lower during the day. It's common for babies to resist naps more fiercely. Most experts advise putting a time limit on nap attempts. If you have been trying graduated checks for a nap for 30 to 60 minutes and your baby has not fallen asleep, it's best to end the attempt. Get the baby up, engage in some quiet activity, and try again for the next scheduled nap. This prevents the baby from becoming extremely overtired, which makes sleep even harder. It also avoids creating a negative association with the crib during the day. Focus on mastering nights first, as well-rested babies tend to nap better.
-
Problem: My baby was sleeping well, but now we have a regression.
Solution: Sleep regressions are normal and often tied to developmental leaps, illness, or disruptions like travel. If your baby was previously trained and is now struggling, you do not need to start from scratch. A 'refresher' course is usually all that is needed. Instead of starting back at Day 1 on your interval chart, you can often start with the intervals from Day 3 or 4. The retraining process is typically much faster, often taking only one or two nights to get back on track. The key is to return to the consistent method as soon as the disruption (like sickness) is over.
Your Path to Better Sleep
Embarking on the graduated checks method is a significant step toward better sleep for your entire family. This process is about more than just ending nightly struggles. It is about teaching your child a valuable, lifelong skill: the ability to fall asleep independently and peacefully. Remember the core principles that lead to success. Be consistent with your plan, be patient with the process, and trust in your child's ability to learn.

The journey may have challenging moments, but the outcome is worth it. Scientific studies have repeatedly shown that behavioral sleep interventions like this are effective. They do not cause long-term harm to a child's emotional health or their bond with you. In fact, research often shows that when a baby starts sleeping better, maternal mental health improves significantly. Less sleep deprivation leads to more positive interactions during waking hours.
Success does not come from the interval chart alone. It comes from your commitment to the plan. It comes from the confidence you show your child. You are giving them the tools they need to become a great sleeper. You are their supportive coach, guiding them toward restful nights. As you move forward, continue to lean on a consistent bedtime routine and a predictable schedule. For more tailored support, you can explore age-specific, personalized sleep routine templates that fit your baby's unique developmental stage.